

Products used:
Step-by-step instructions for applying "Milky White + Golden Shift" Dipping Powder


Materials:
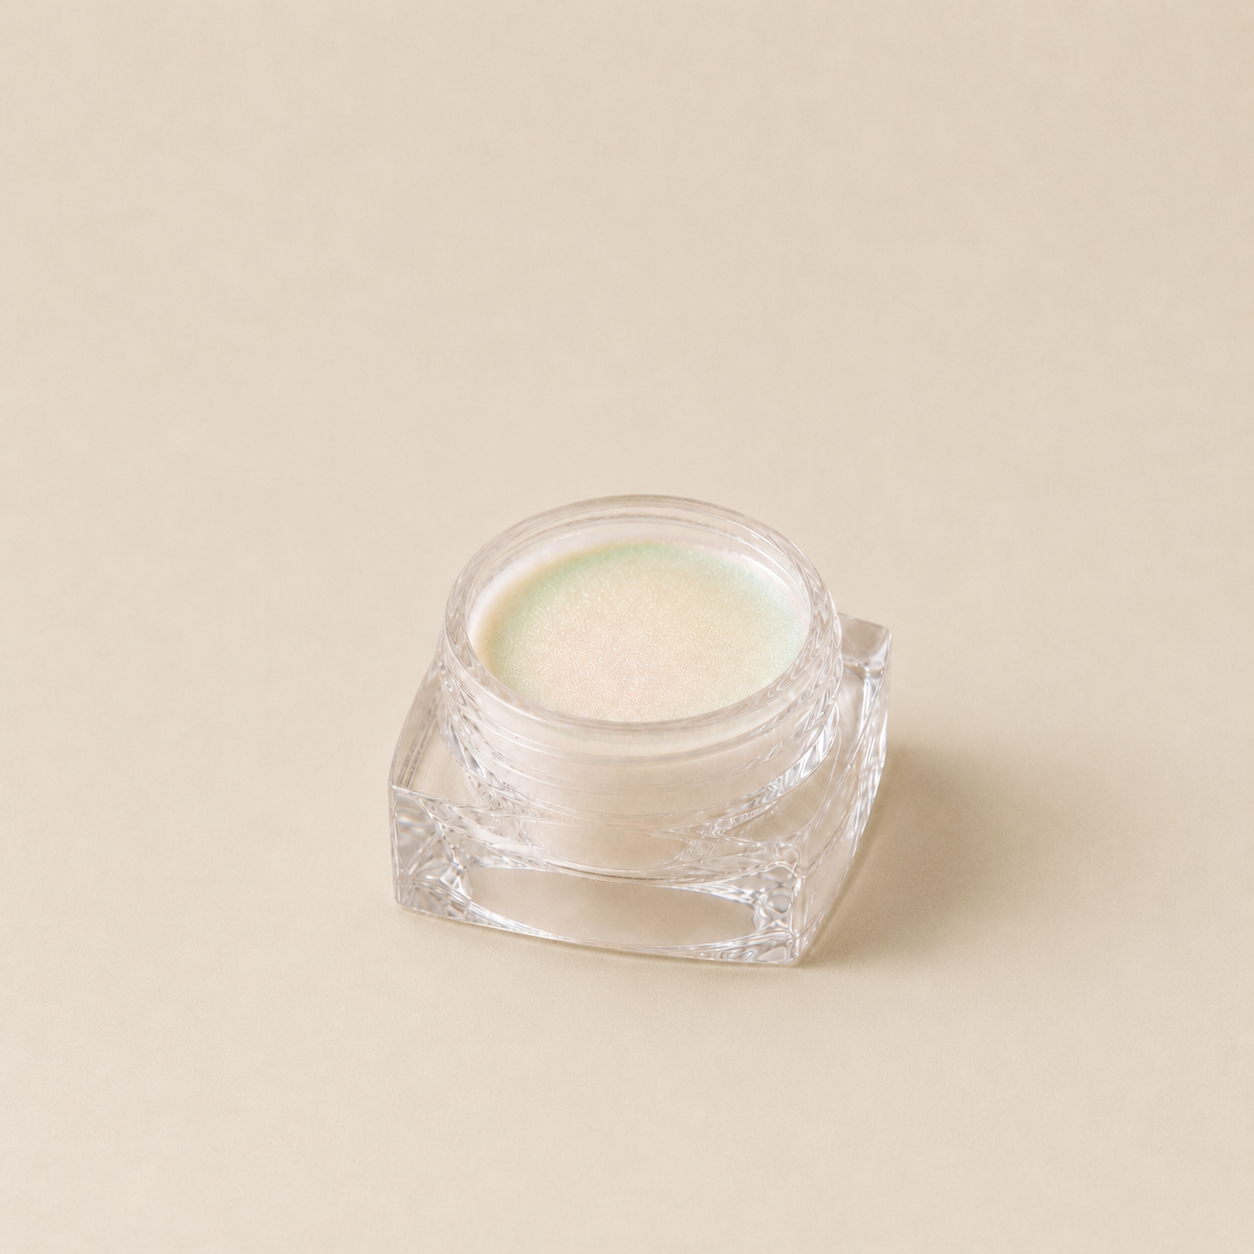
- Milky White Dipping Powder
- Golden Shift Chrome Powder
- Base coat
- Activator
- Chrome Top coat
- Chrome Application Brush
- Nail file and buffer
- Dusting brush or soft brush
Preparation
File your nails into the desired shape and gently push back your cuticles.
For optimal adhesion, lightly buff the natural nails with a buffer block or the fine side of a nail file before application.
Be sure to remove any invisible cuticles and skin debris to prevent them from lifting.
Do not apply any oils or creams before use.
Step 1: Base Coat & Dipping Powder
Apply a thin, even layer of Base Coat to the entire nail. Be careful not to touch the cuticles or the surrounding skin, as this can cause lifting and affect adhesion. Dip the coated nail into “Milky White” at a 45-degree angle. Tap off the excess powder and gently brush away any loose particles with your dusting brush.
Step 2: Second Color Layer
Apply a second thin, even layer of Base Coat to the nail. Dip the nail again into “Milky White” to build a smooth, opaque finish. Use a fine cuticle tool to clean the edges of the nail bed, then gently brush away any remaining loose powder.
Step 3: Activator
Apply a sufficient amount of Activator (Glowdip 2) over the entire nail surface and edges. This step bonds the powder layers together and cures them. Allow the Activator to dry completely.
Step 4: Filing & Buffing
Use a file and the Glowdip Buffer (Step 3) to buff away any unevenness or bumps and shape the nails to the desired shape and thickness. File carefully so as not to damage the surface.
Step 5: Activator
Repeat Step 3. Apply a second coat of Activator over the entire nail and the edges to optimally seal the layers after buffing. Let the Activator dry thoroughly for at least two minutes.
Step 6: Chrome Top Coat (Base for Chrome)
Apply a thin, even layer of Glowdip Chrome Top Coat. This special top coat acts as a base (adhesive) for the chrome effect without requiring a UV lamp. Let it dry according to the product’s specific instructions until it’s ready for the powder.
Step 7: Applying Chrome Powder
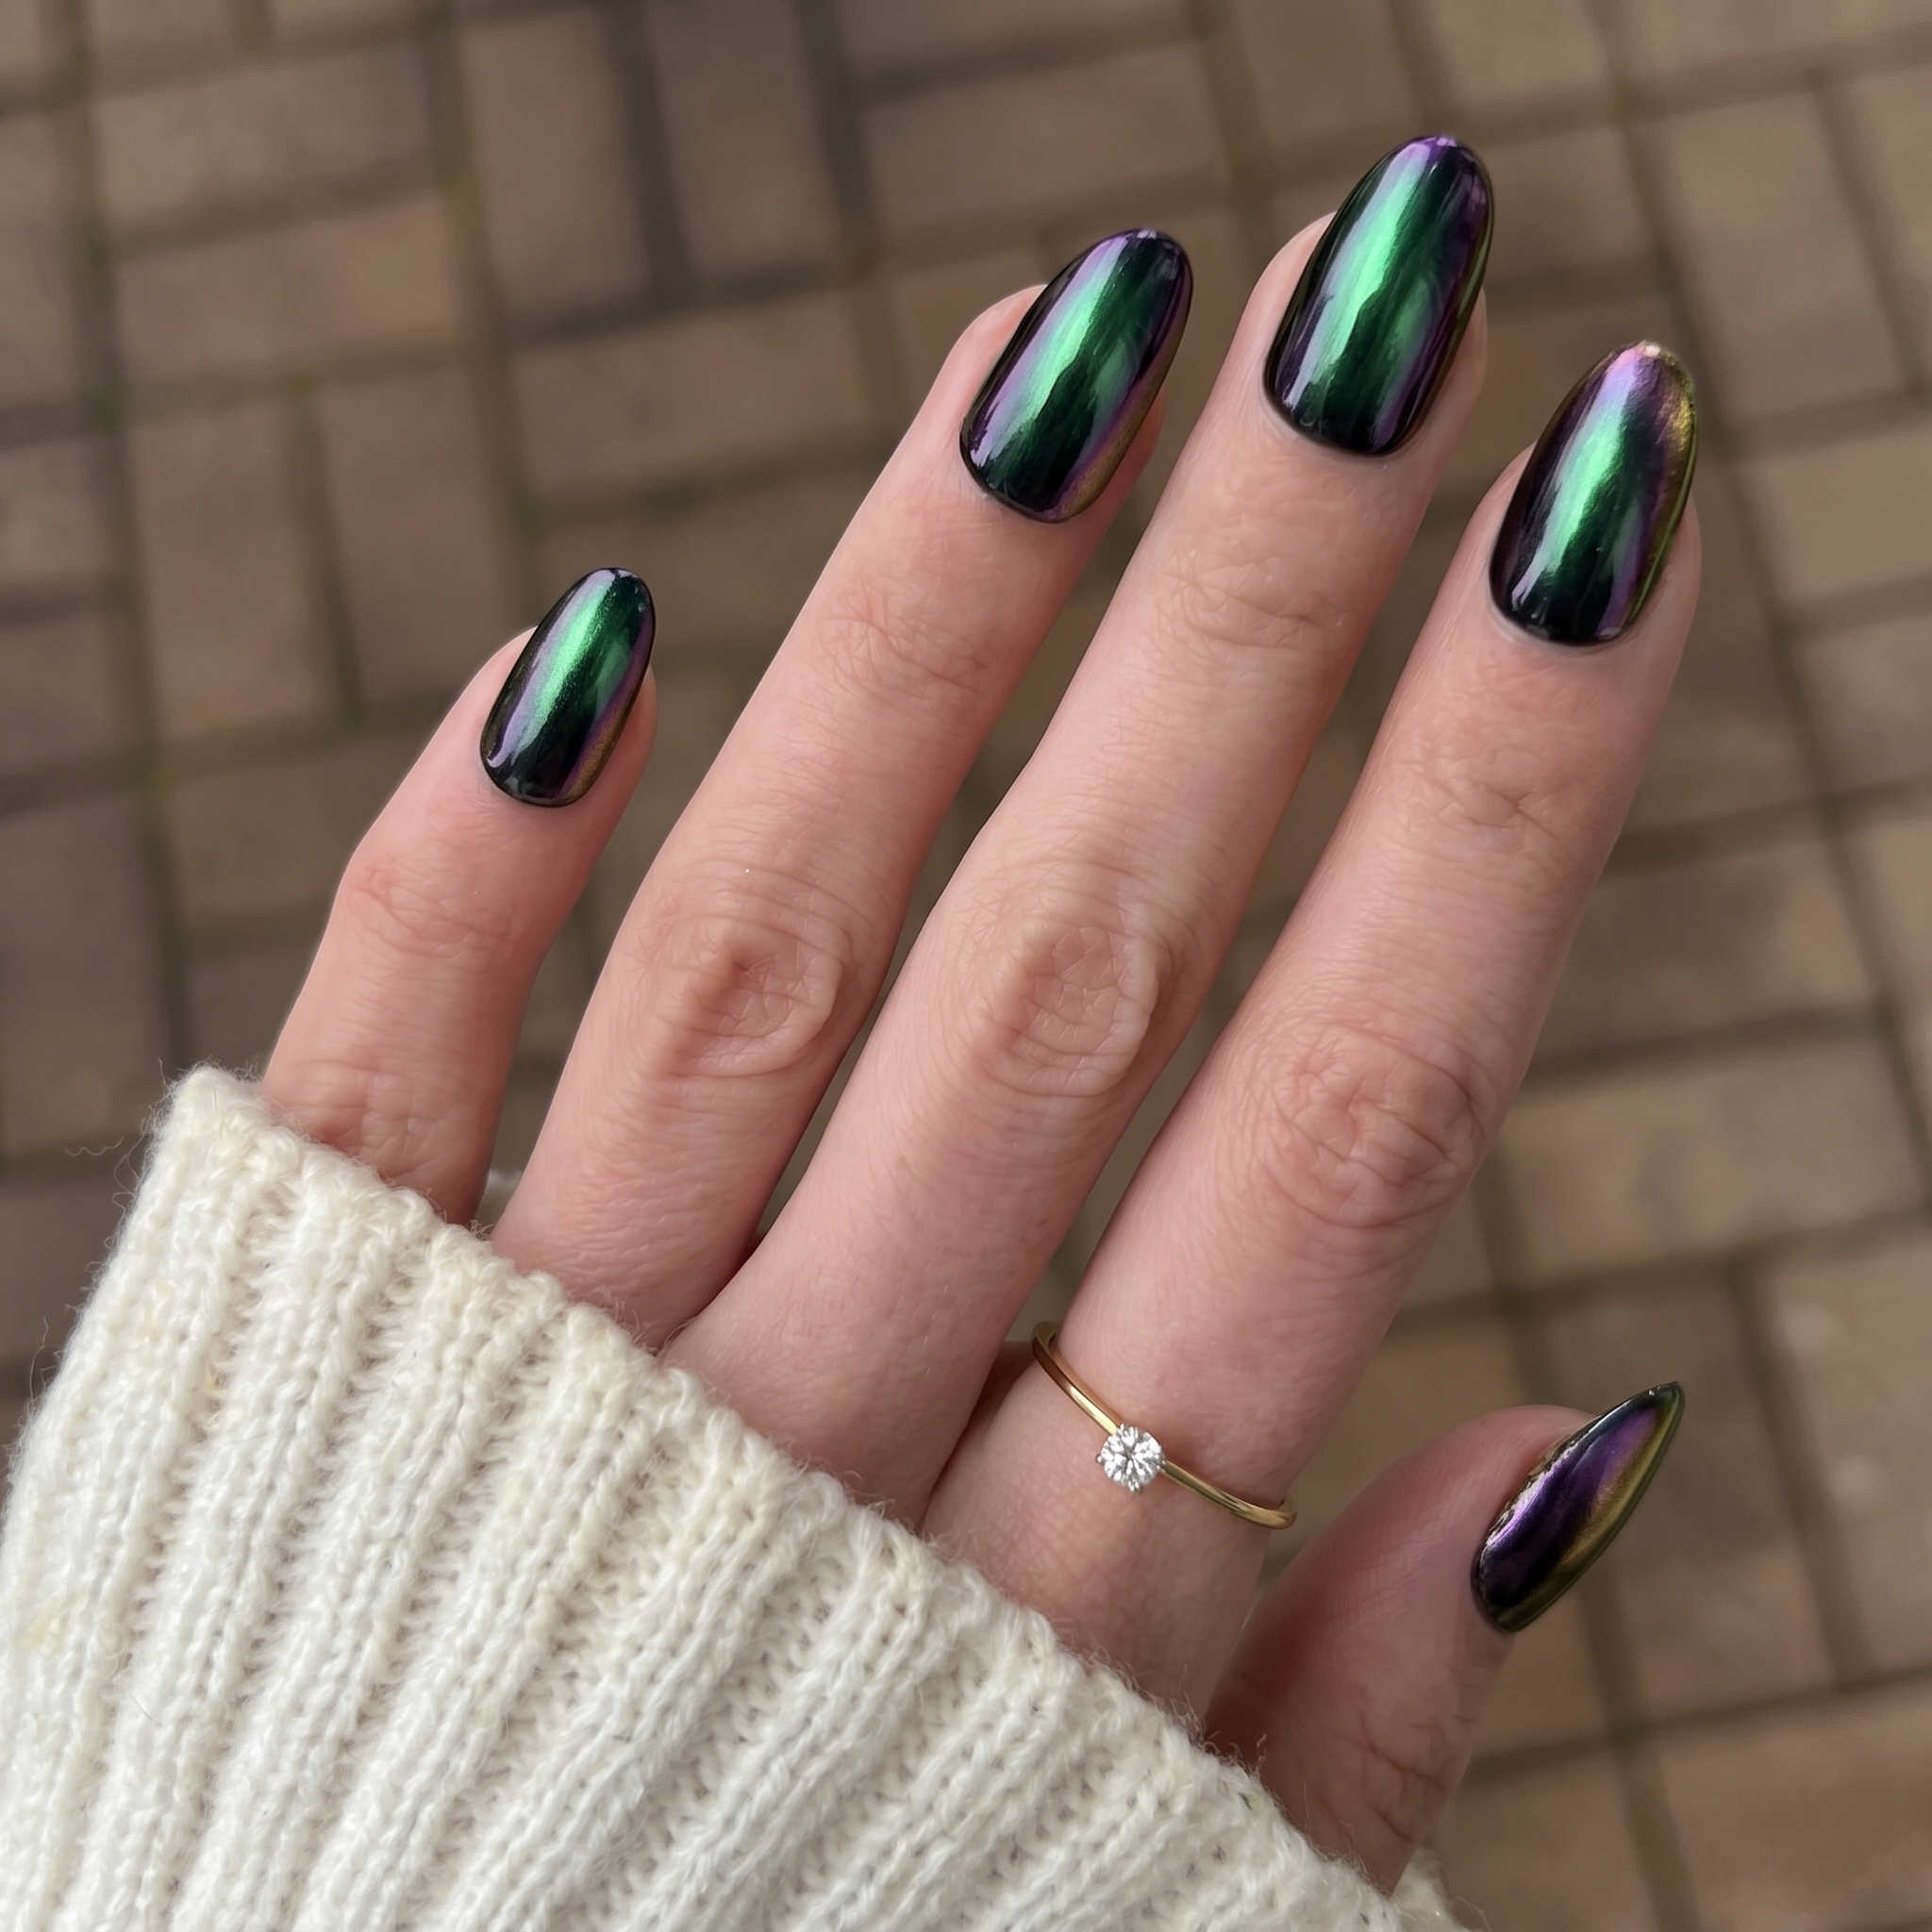
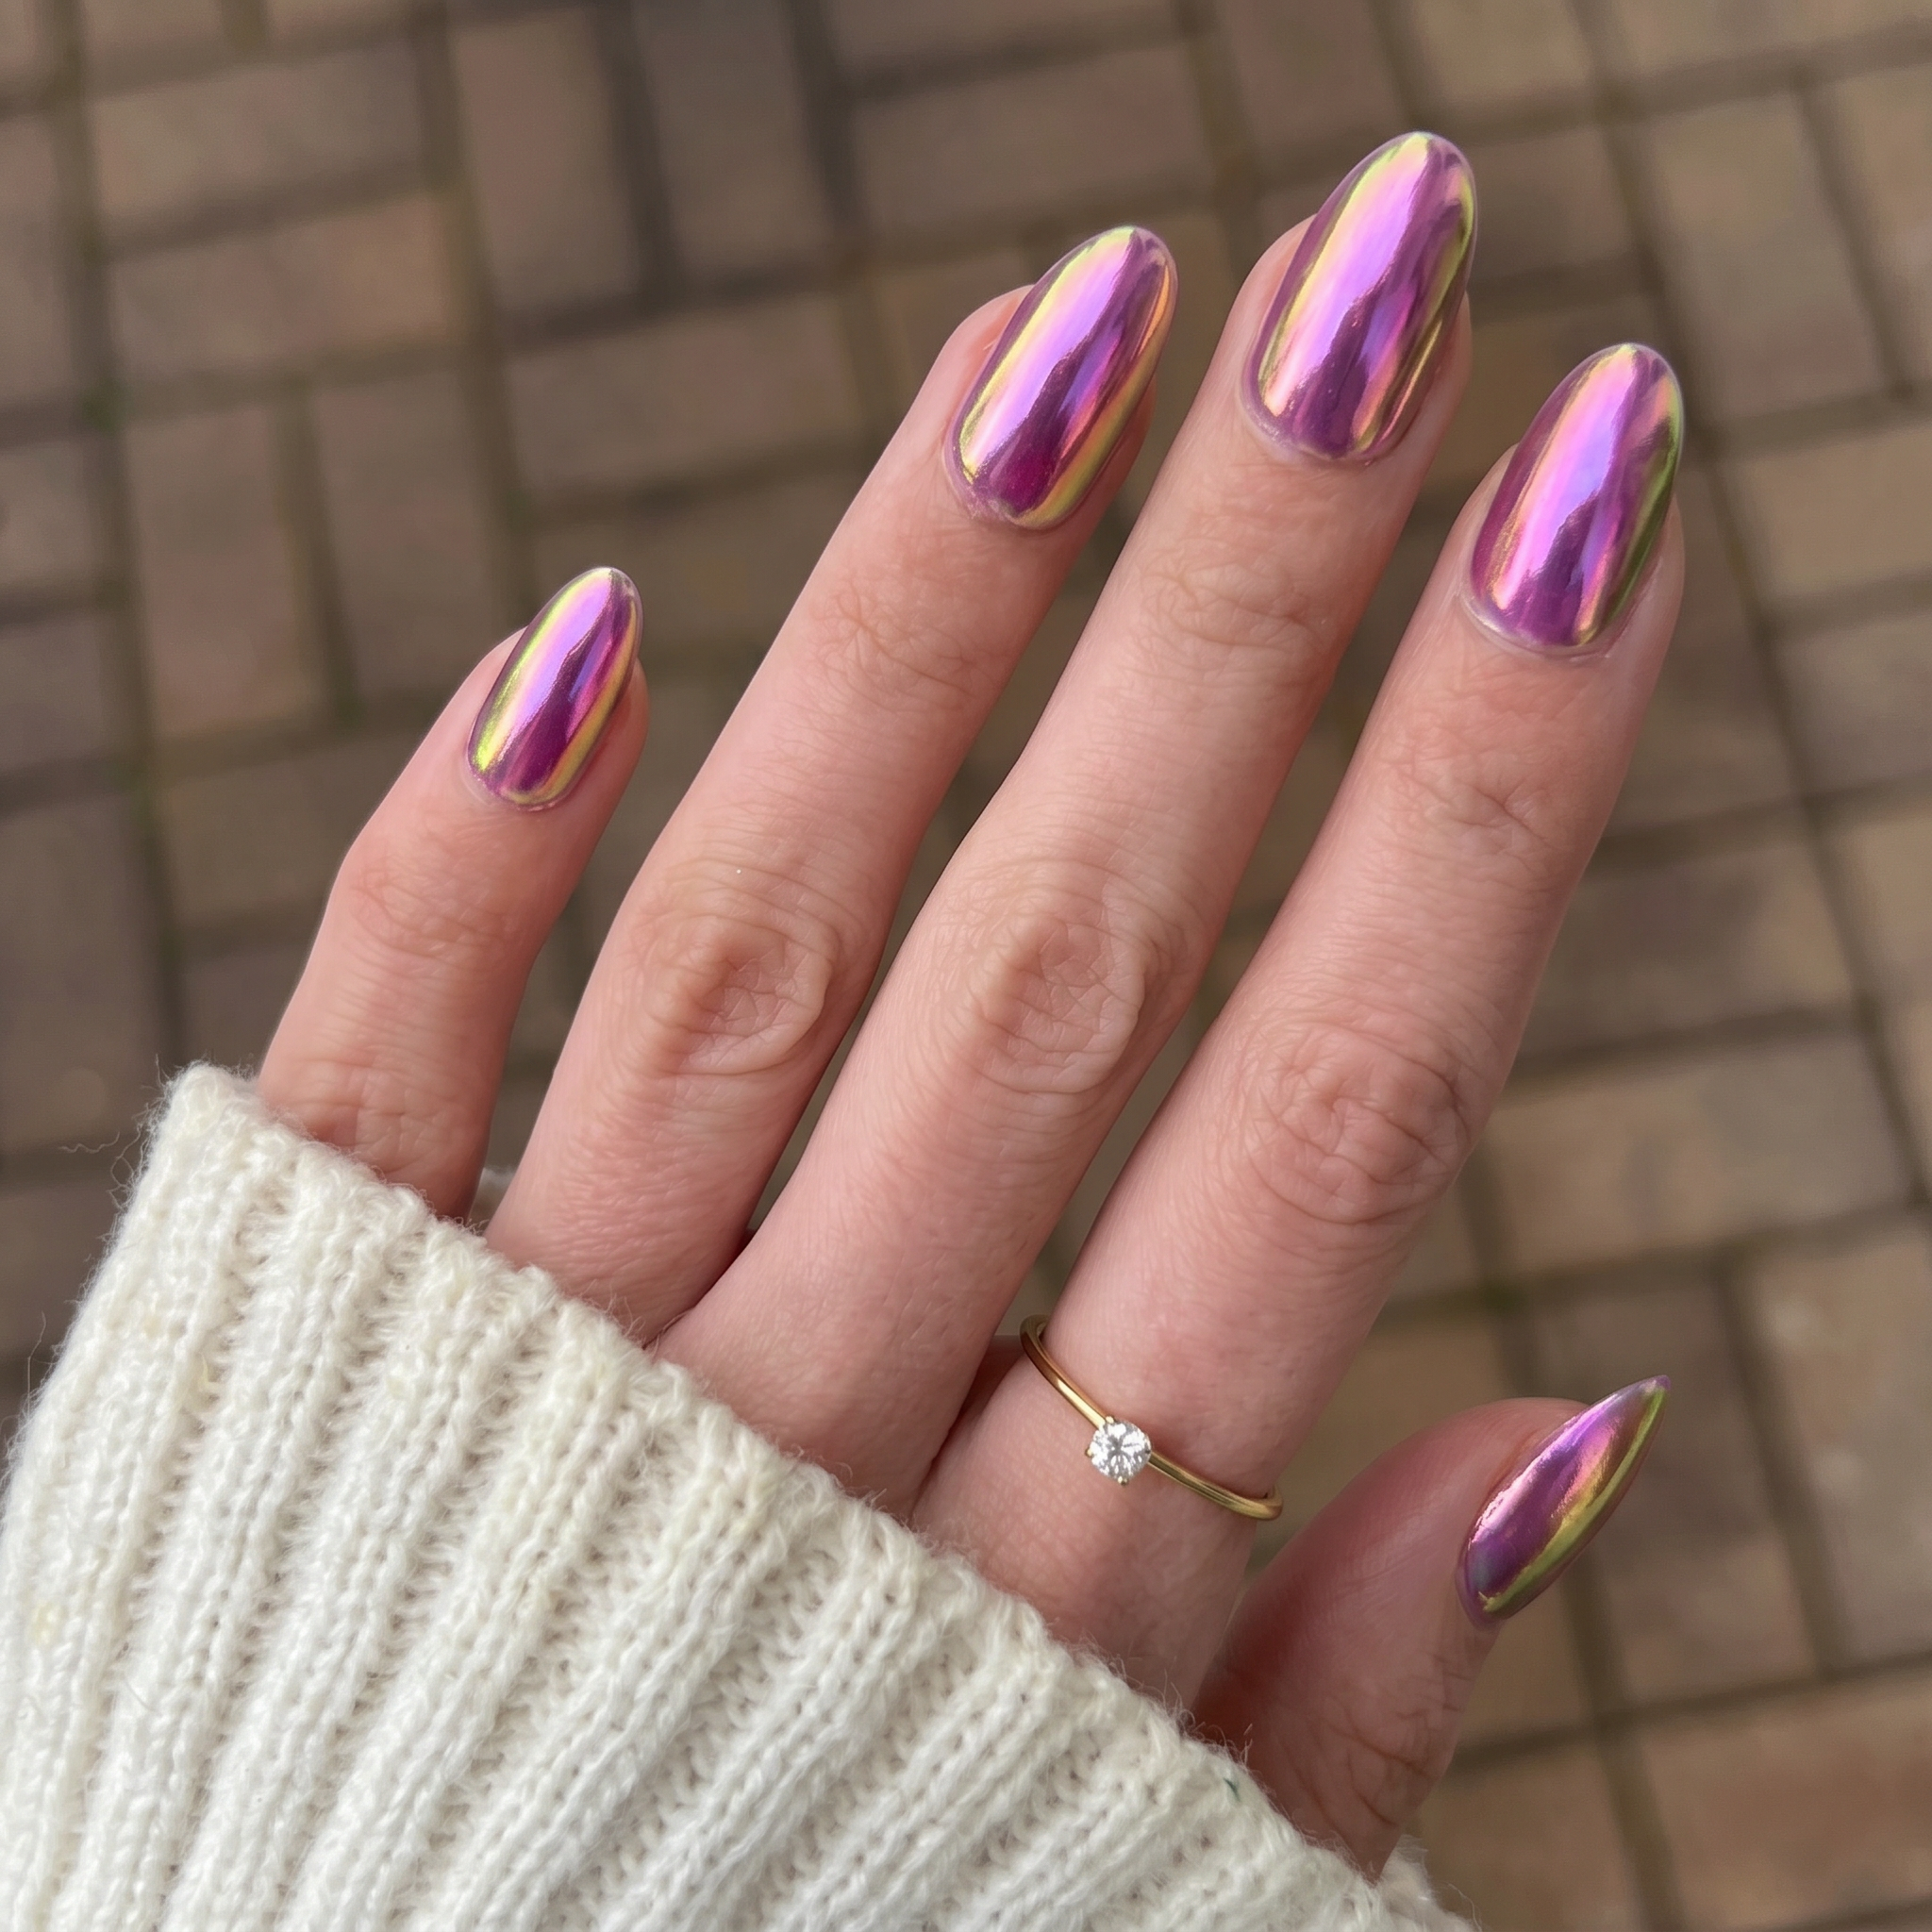
Dip your chrome applicator into the Golden-Shift chrome powder. Rub and buff the powder firmly directly onto the nail surface until it is completely covered and you achieve a smooth, color-shifting mirror effect.
Step 8: Sealing Top Coat
To seal the design and protect the chrome effect, apply a final, even coat of Glowdip Chrome Top Coat over the entire nail. Be sure to cover the free edge (front) of the nail (“capping”) to ensure proper adhesion and a long-lasting finish. Let it dry completely.
And voilà! With these simple steps, you can create beautiful, long-lasting nails using the “Milky White + Golden Shift” dipping powder. Enjoy your gorgeous nails!
Colors used






Leave a comment
All comments are moderated before being published.
This site is protected by hCaptcha and the hCaptcha Privacy Policy and Terms of Service apply.