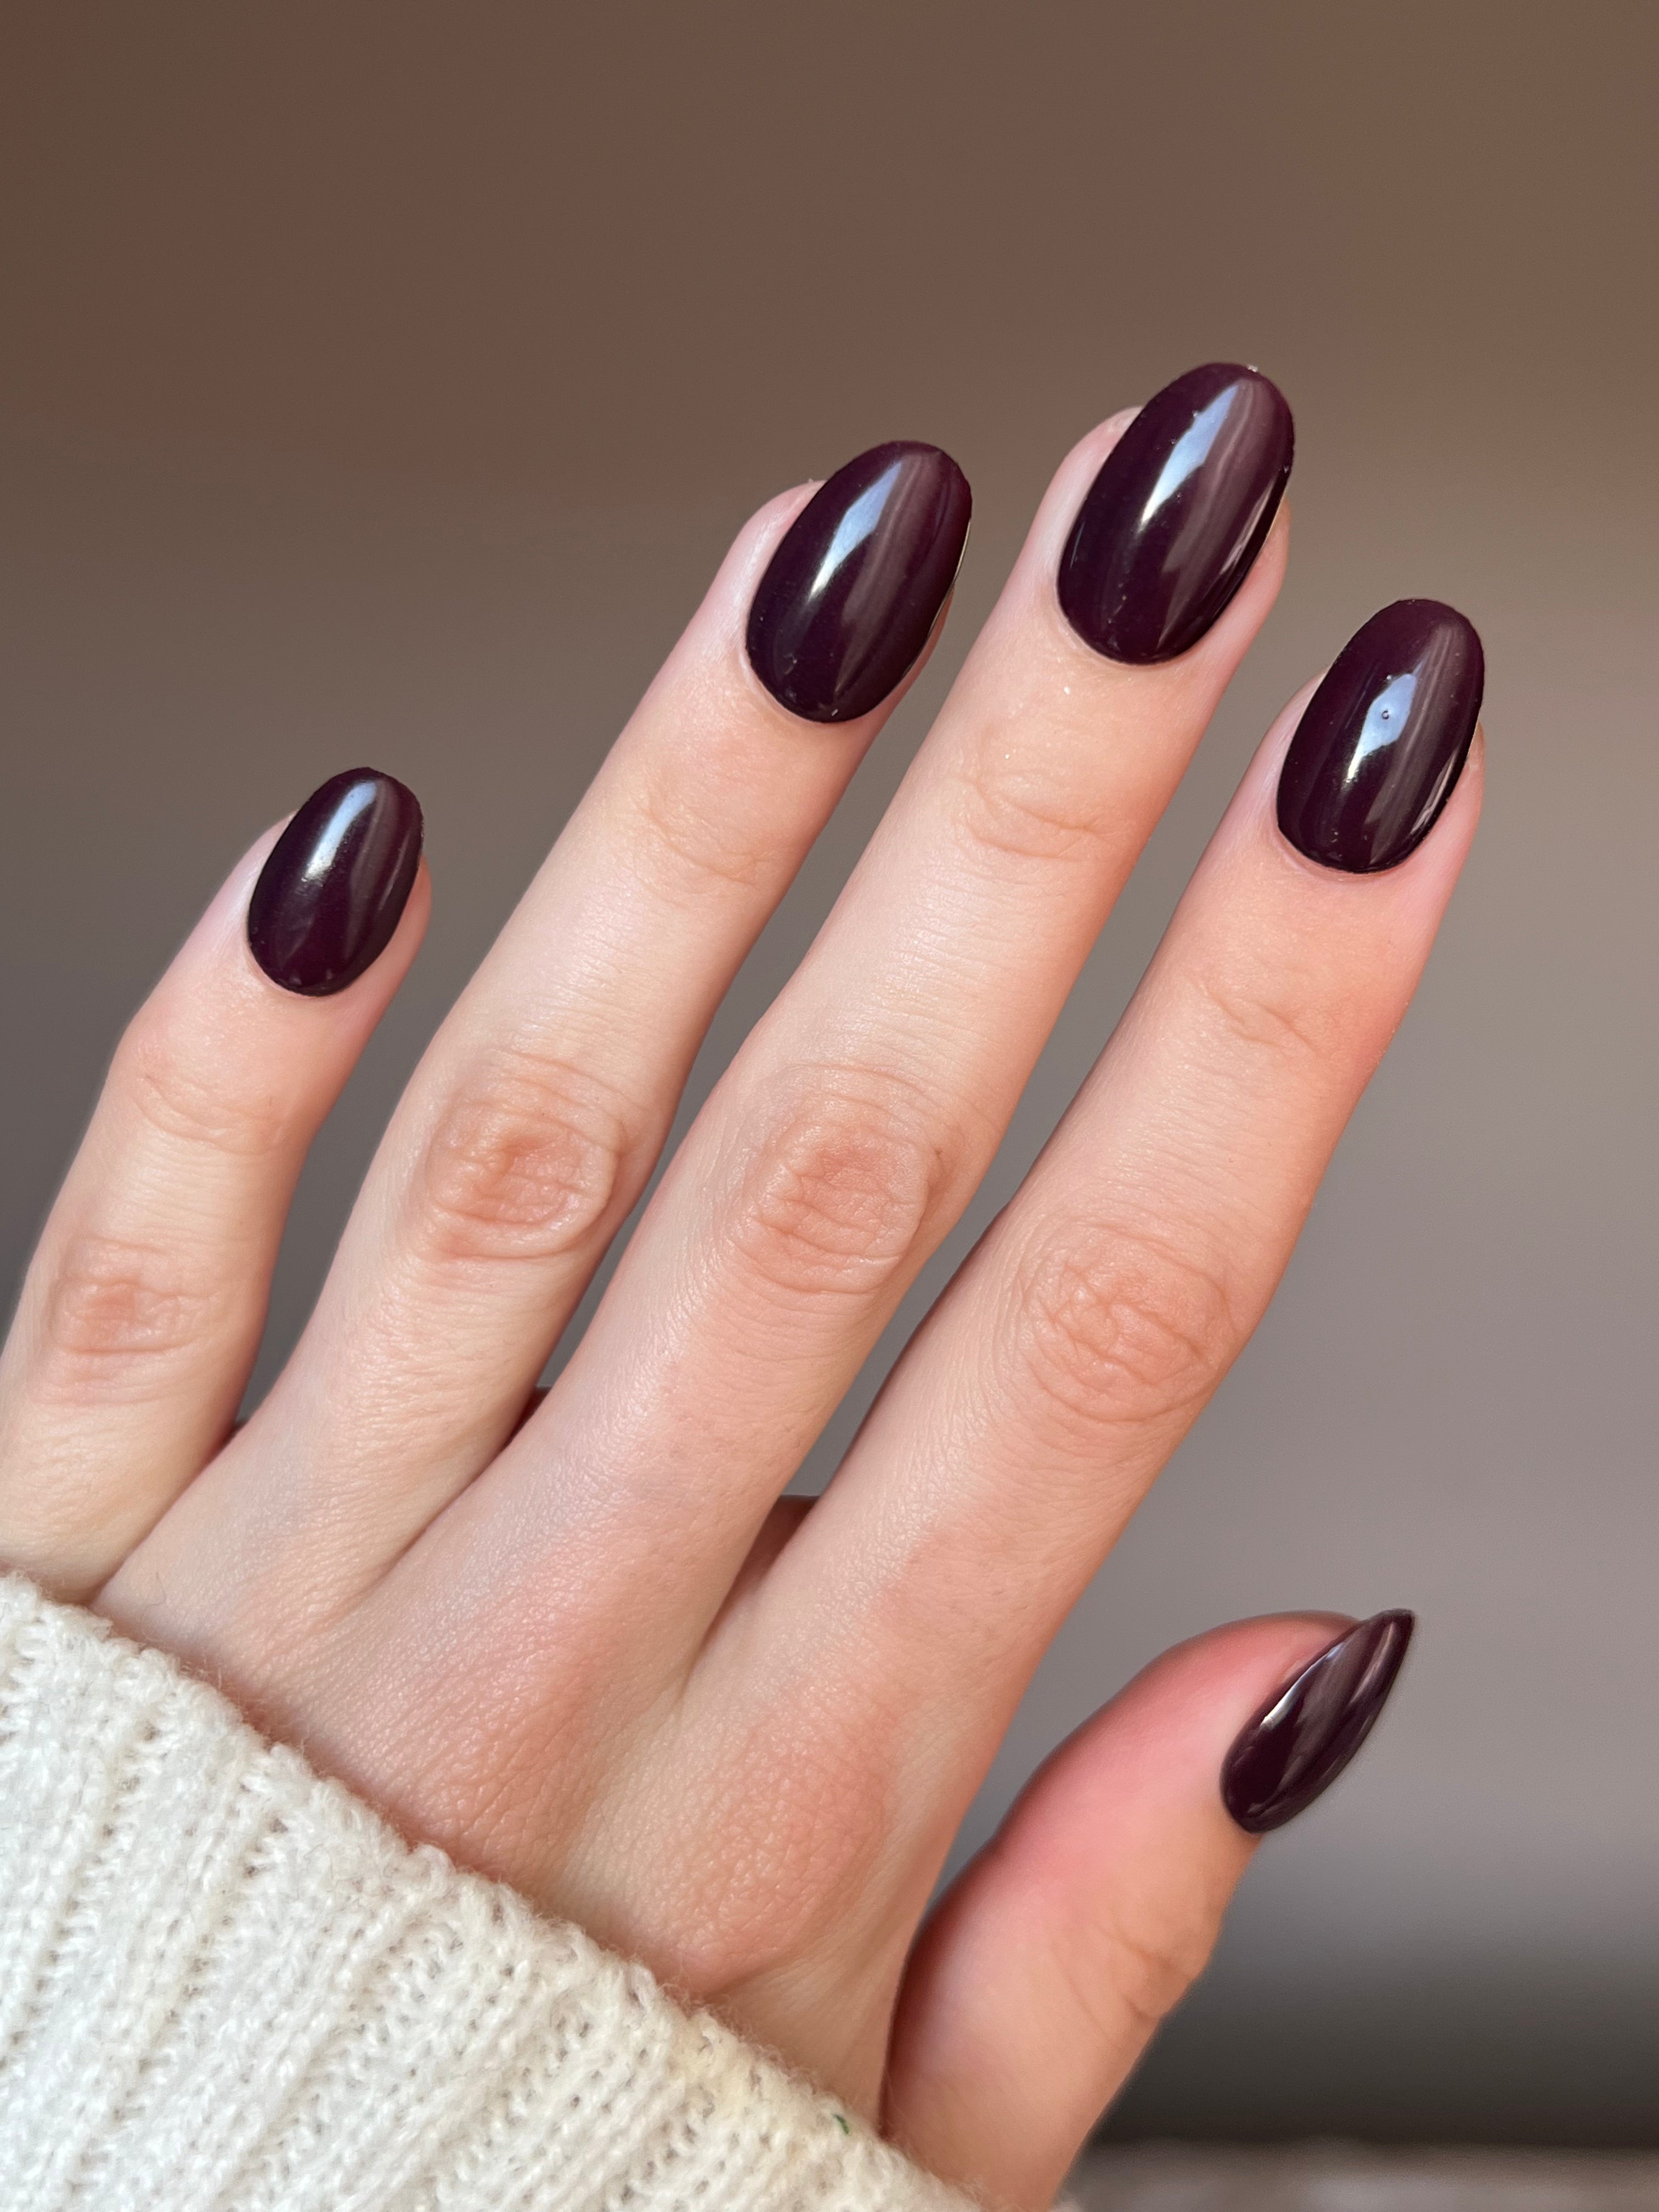
Dark Toast + Diamond White + Crystal Clear

Dark Toast + Diamond White + Crystal Clear


Products used:

Glowdip starter set

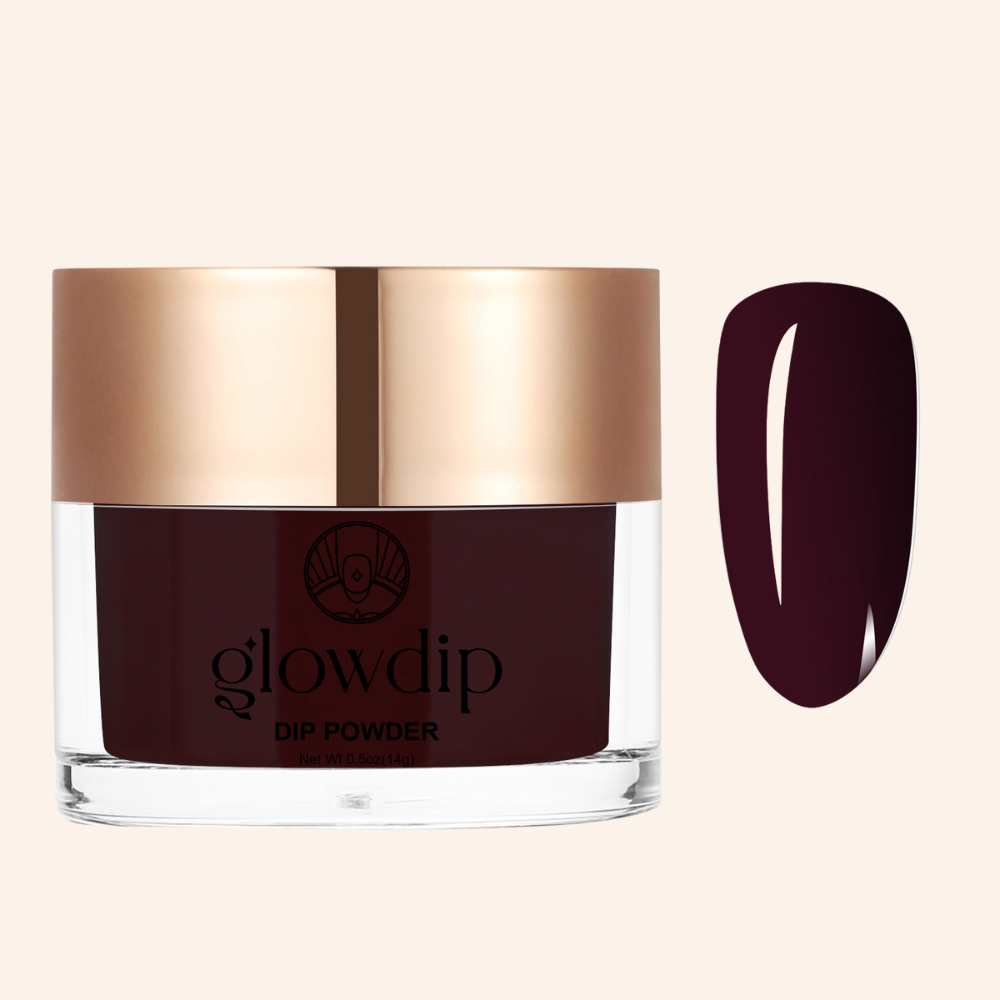
- Colour: Dark Roast

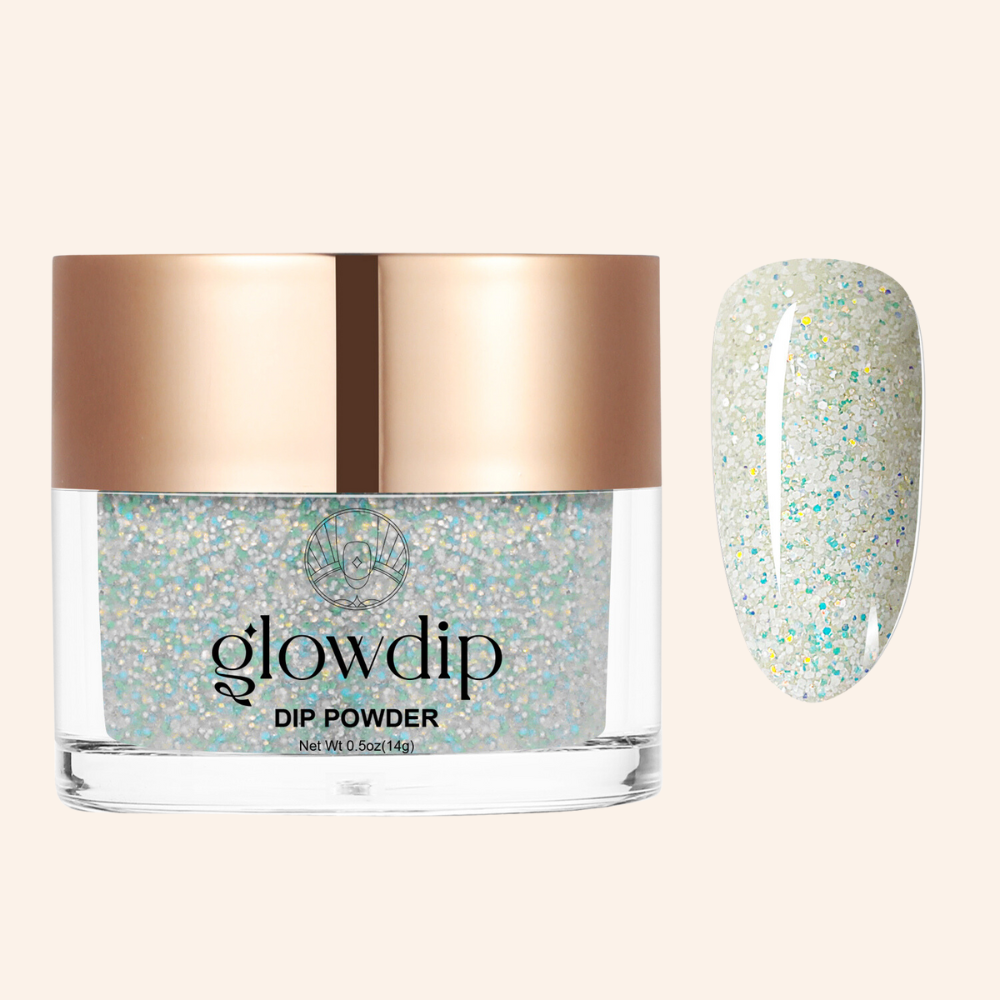
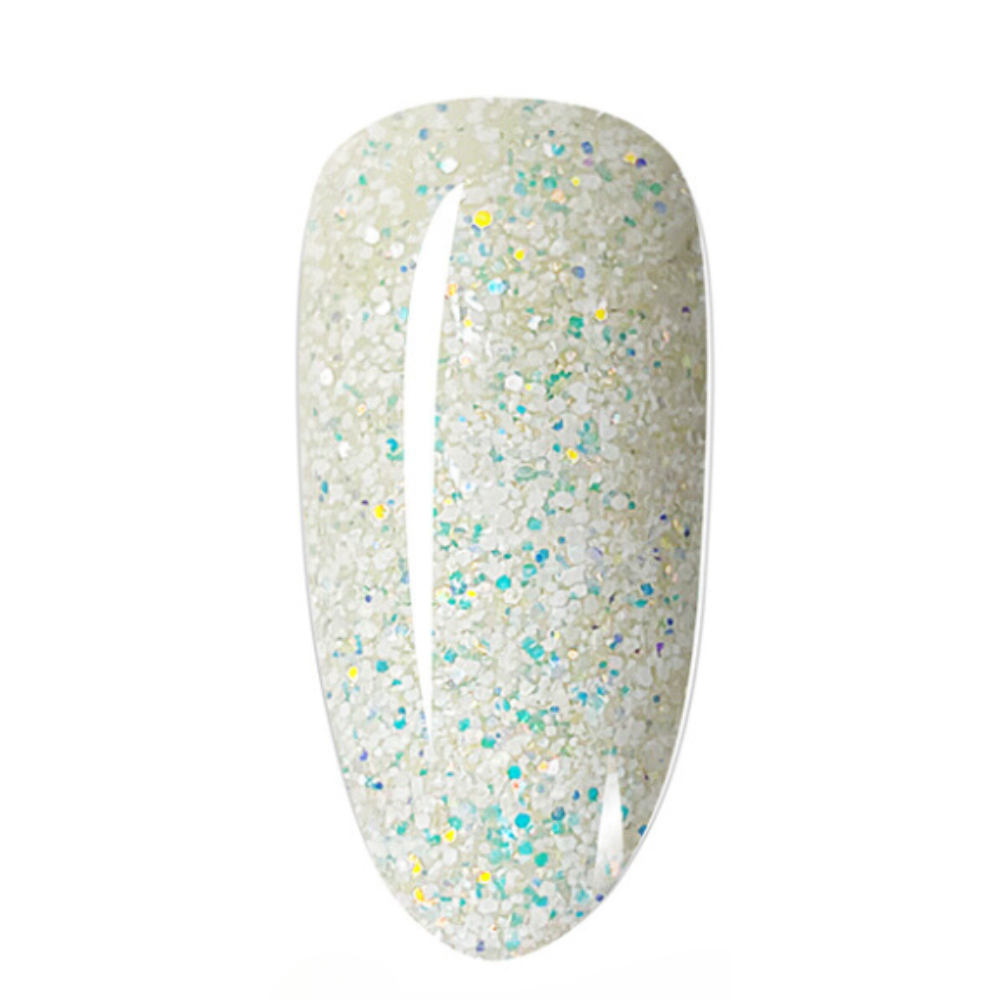
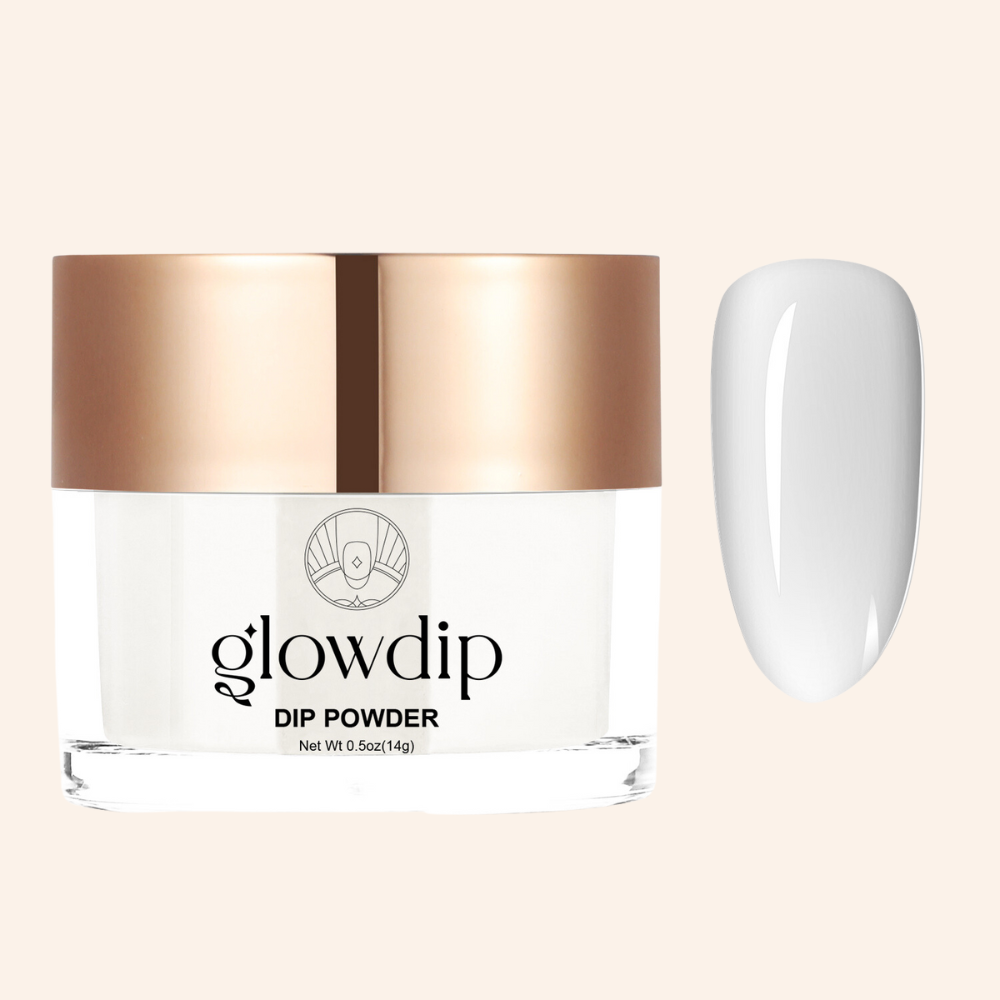
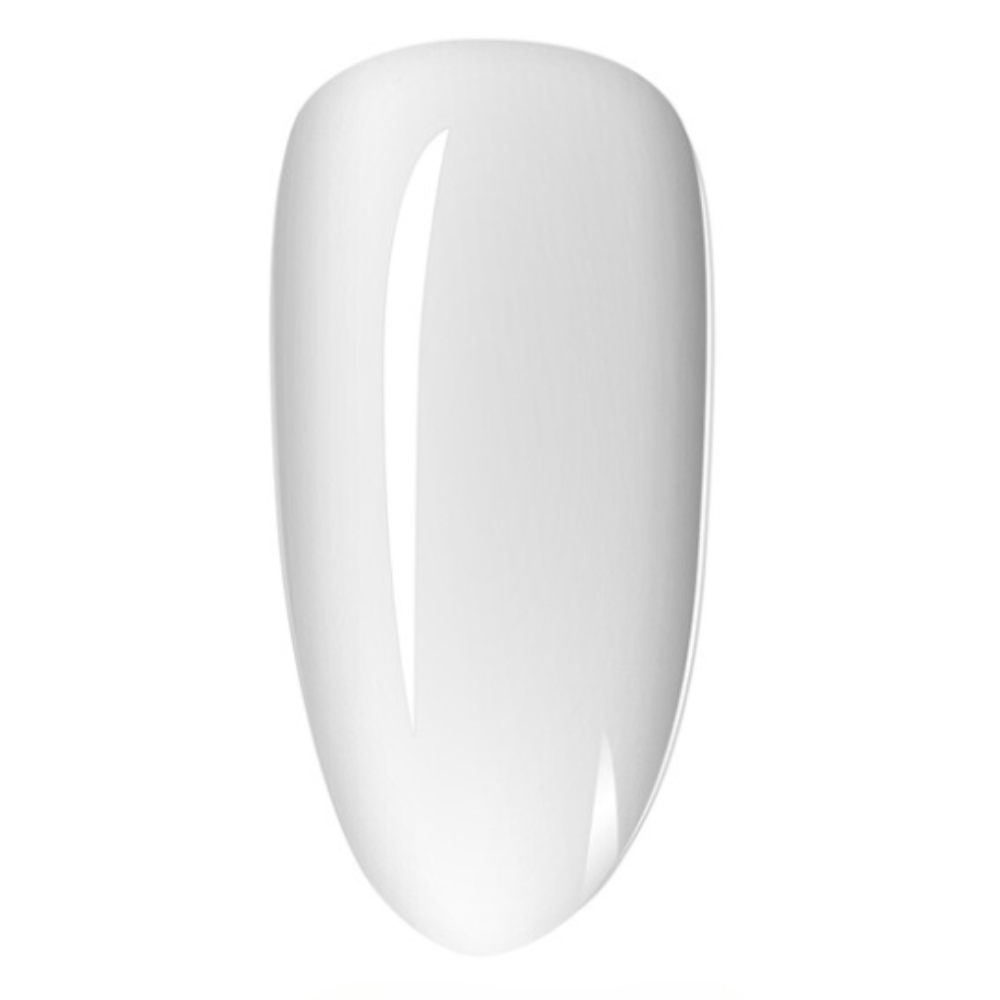
- Colour: Diamond White

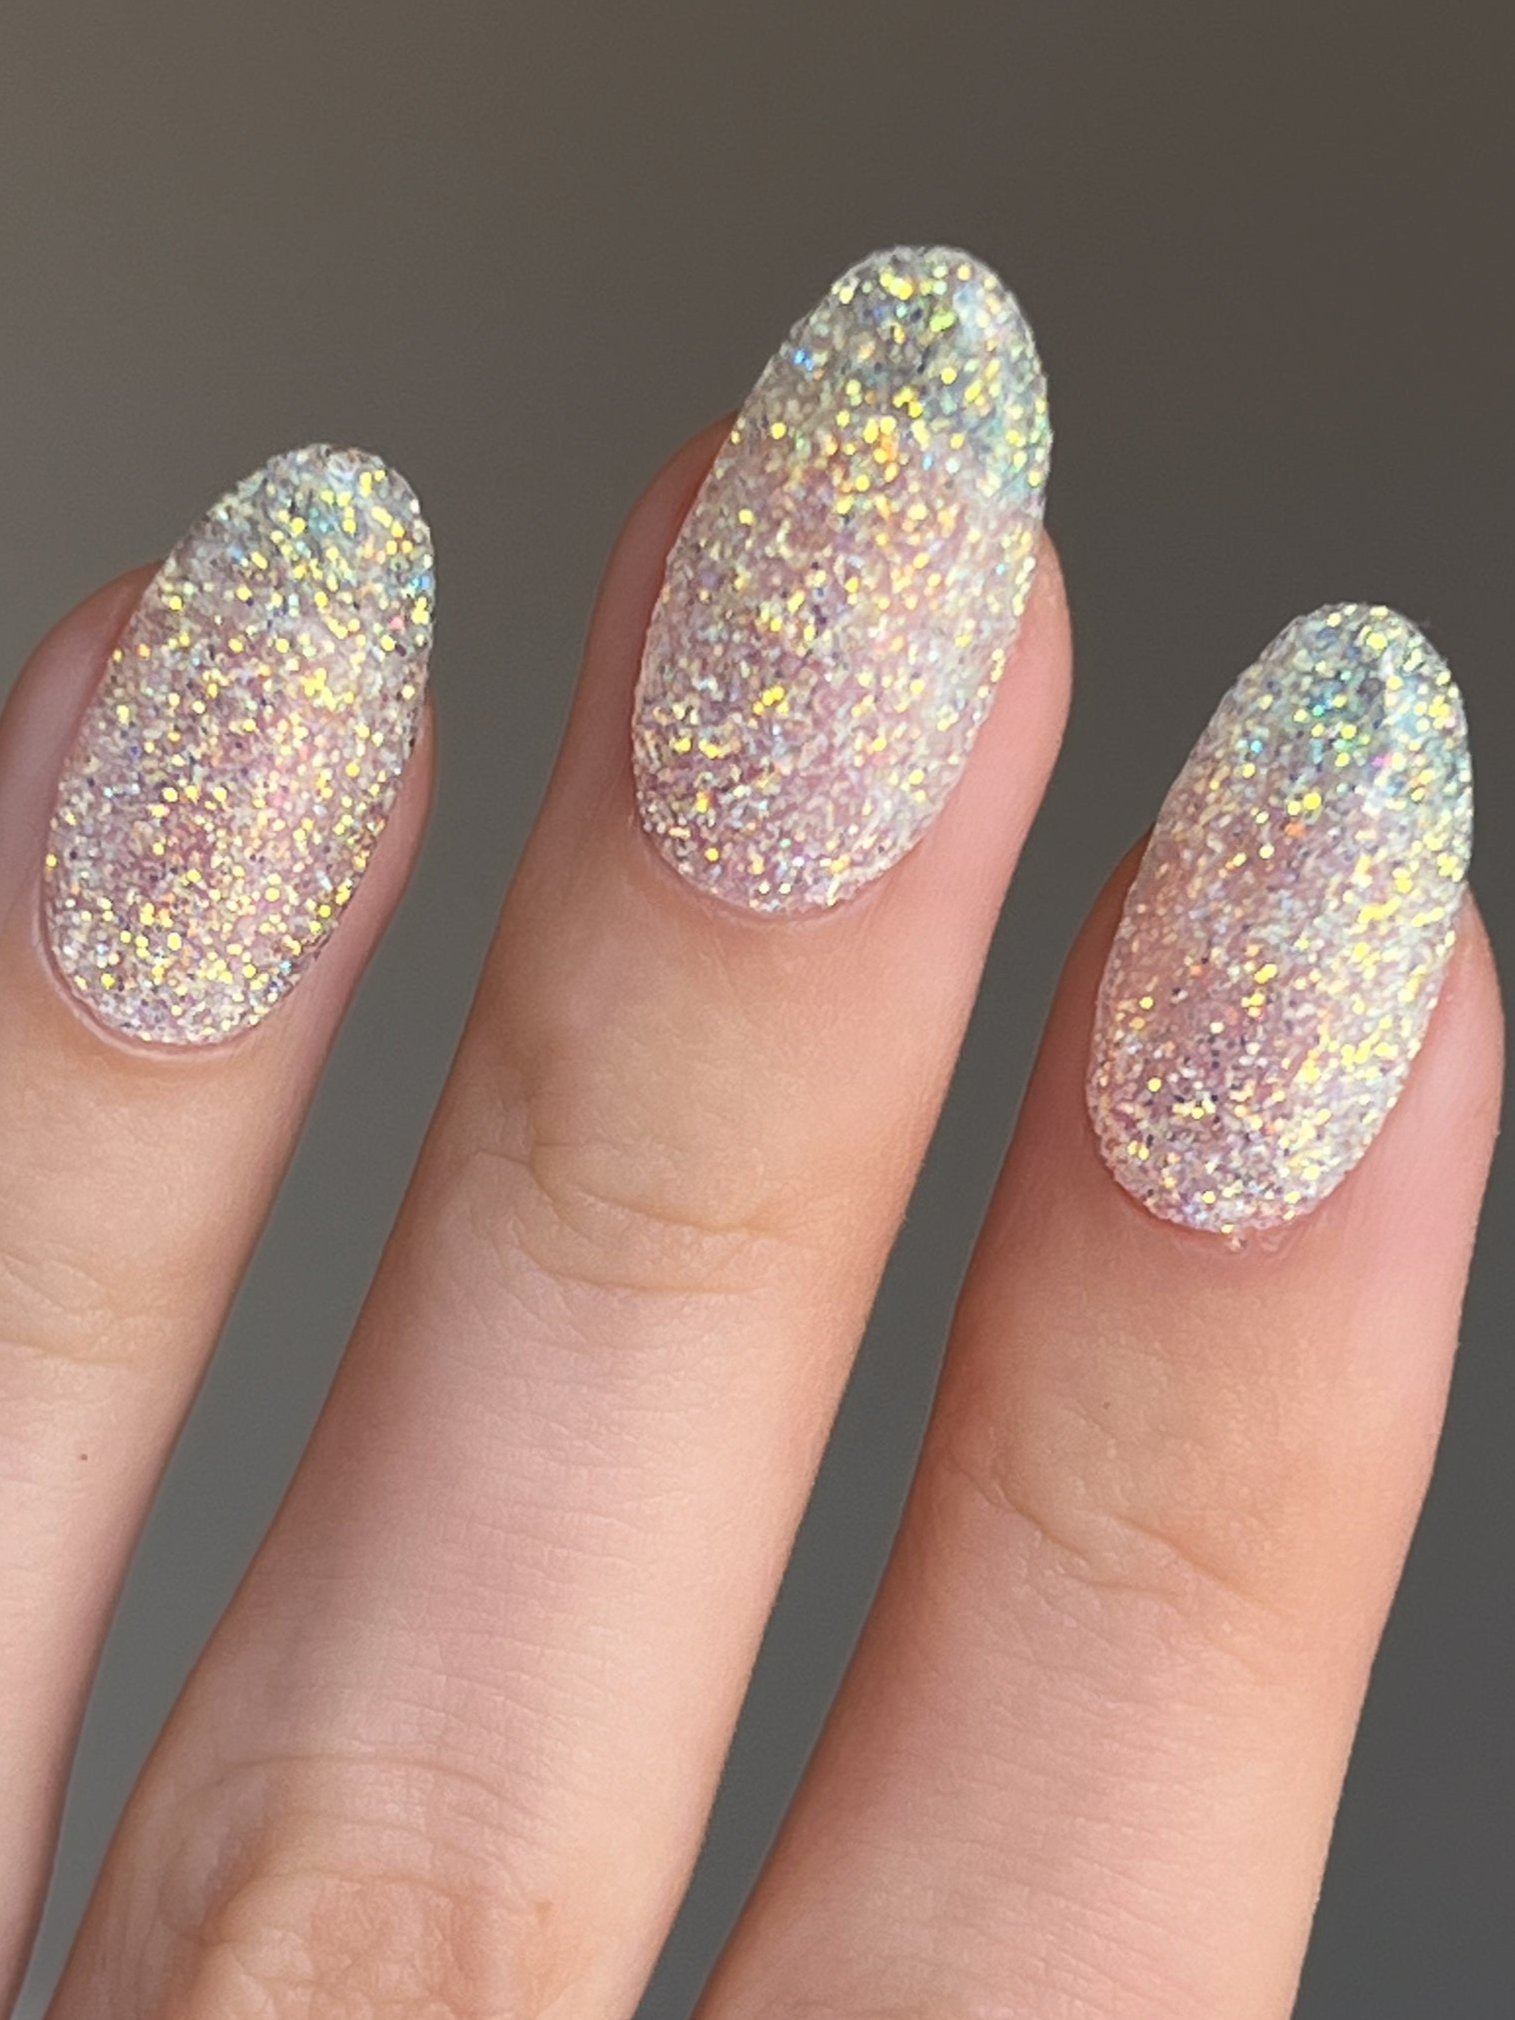
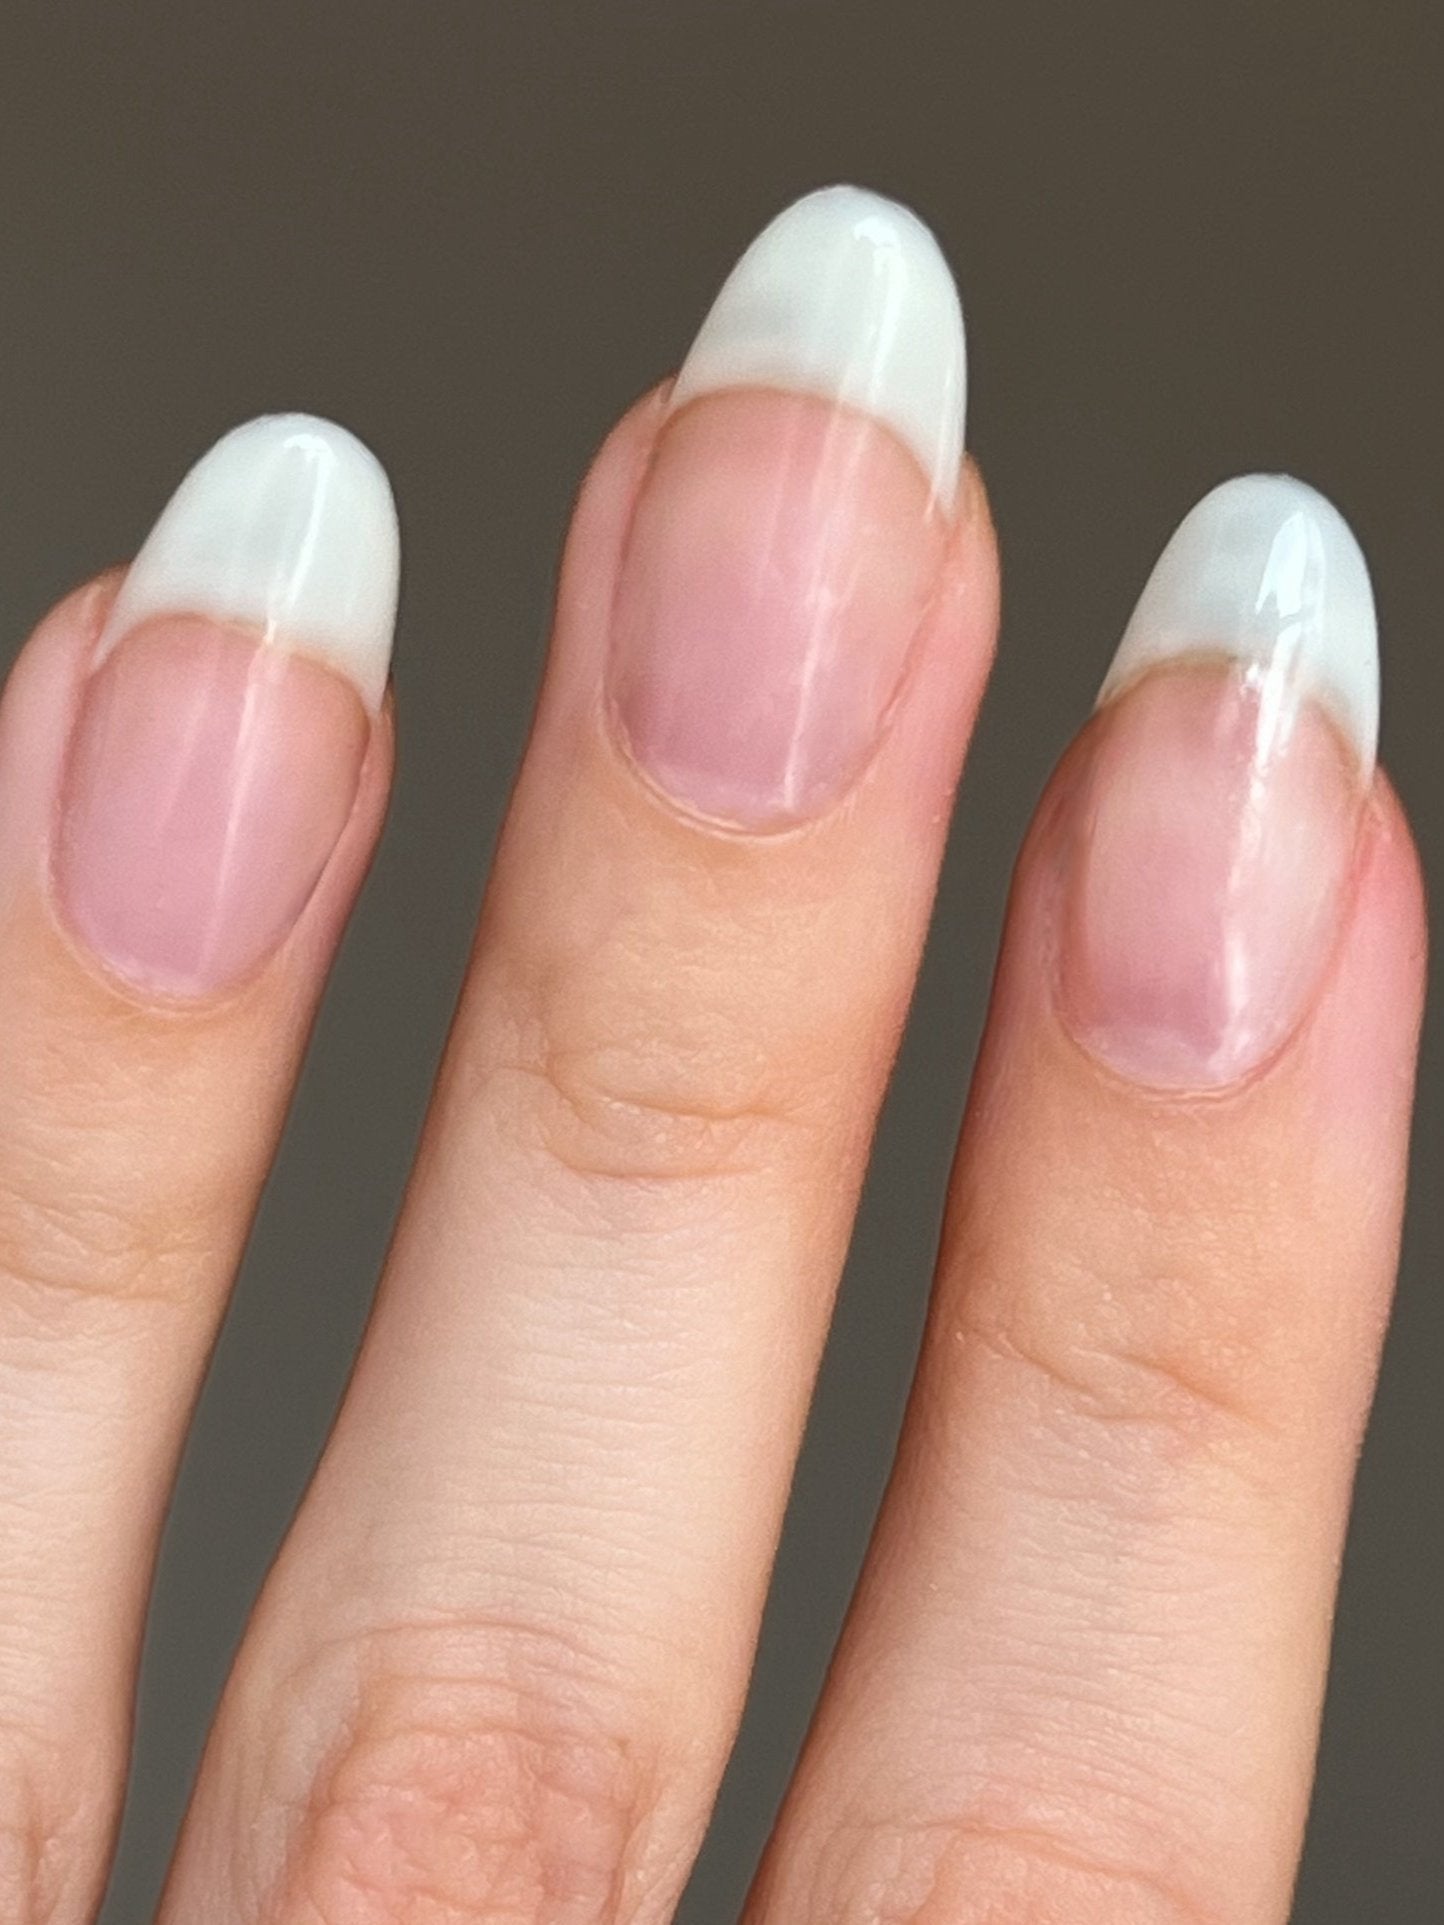
- Colour: Crystal Clear

Step-by-step instructions for applying "Dark Toast + Diamond White + Crystal Clear" Dipping Powder

Materials:

  • Dark Roast Dipping Powder
  • Diamond White Dipping Powder
  • Crystal Clear Dipping Powder
  • Base coat
  • Activator
  • Top coat
  • Nail file and buffer
  • Dusting brush or soft brush

Preparation

File your nails into the desired shape and gently push back your cuticles.

For optimal adhesion, lightly roughen/match the natural nails with a buffer block or the fine side of a file before application.

Be sure to remove invisible cuticle and skin debris as well, to avoid lifting.

Do not apply oils or creams before use.

Step 1: Base coat

Apply a thin, even layer of Base Coat to the entire nail. The first coat should be quick and does not need to be too precise. Be careful not to touch the cuticles or surrounding skin, as this can cause lifting and affect adhesion.

For the ring finger and pinky, apply base coat to the entire nail and dip fully into “Dark Roast.” Tap off excess powder and gently brush away any loose particles. Apply a second thin layer of base coat to these nails and repeat the dip into “Dark Roast” to build full opacity and an even finish. Brush clean thoroughly.

For the thumb, pointing finger, and middle finger, apply a thin layer of base coat to the entire nail. Using a fluffy brush, gently tap “Dark Roast” over the upper half of the nail. Then, dip the remaining lower half of the nail fully into “Crystal Clear.” Tap off excess powder and gently brush away loose particles. To create the marbled swirl design, use a fine detail brush to apply base coat in swirling patterns across the nail, then quickly dip into “Diamond White.” Next, apply thin, scattered strokes of base coat and gently tap or brush “Dark Roast” powder over those lines to add depth and complete the marbled effect. Tap off excess powder and brush clean.

To elevate the design, carefully place pieces of Glowdip’s Gold Foil onto the nail to accent the marbled swirls. Once the foil is perfectly positioned, apply a smooth layer of base coat over the entire nail on these fingers and dip fully into “Crystal Clear.” This encapsulates the half-and-half base, the intricate marble swirls, and the delicate gold foil, smoothing the surface and ensuring the design remains protected. Tap off the excess powder and brush away any loose particles.

Once all nails have been completed, gently brush away any remaining loose powder and inspect each nail to ensure the color is even and the edges are fully covered. If necessary, repeat the dipping process on any areas that require additional coverage.

Be sure to avoid touching the cuticles or surrounding skin throughout the application to ensure proper adhesion and a clean, polished result.

Step 2: Base Coat & Color Powder

Repeat step 1 for optimal coverage, adhesion and beautiful and stunning color intensity.

Step 3: Activator Coat

Apply enough Activator Coat over the entire nail surface, edges and also at the tip. The Activator is the most important step in the application process because it seals and binds the layers to the nail, preventing air bubbles from forming and ensuring long-lasting adhesion. Allow the Activator Coat to dry for at least two minutes.

Step 4: Filing & Polishing

Now you can use the fine side of the file or a buffer to buff away all bumps and imperfections and bring the nails to the desired shape and thickness. It is important to file carefully so that you do not damage the surface and nails.

Step 5: Activator Coat

Repeat step 3. Again, apply enough Activator Coat to the entire nail and its perimeter to seal the layers optimally. Then allow the Activator Coat to dry for at least two minutes. To make sure the Activator Coat is dry, you can clean the surface of the nail with a paper towel after 2 minutes. This is to prevent the Top Coat from curing due to contamination.

Allow 2-3 minutes of waiting time between Top Coat and Activator Coat.

Step 6: Top Coat

Apply a thin layer of Top Coat evenly with 2-3 quick strokes and allow it to dry for at least two minutes.

Step 7: Top Coat

Repeat step 6. Apply a second, thin coat of Top Coat to the nails. Then let this dry for 2-3 minutes.


And voila! With these simple steps, you will create beautiful, long-lasting nails with the 'Dark Toast + Diamond White + Crystal Clear' dipping powder. Have fun with your beautiful nails!
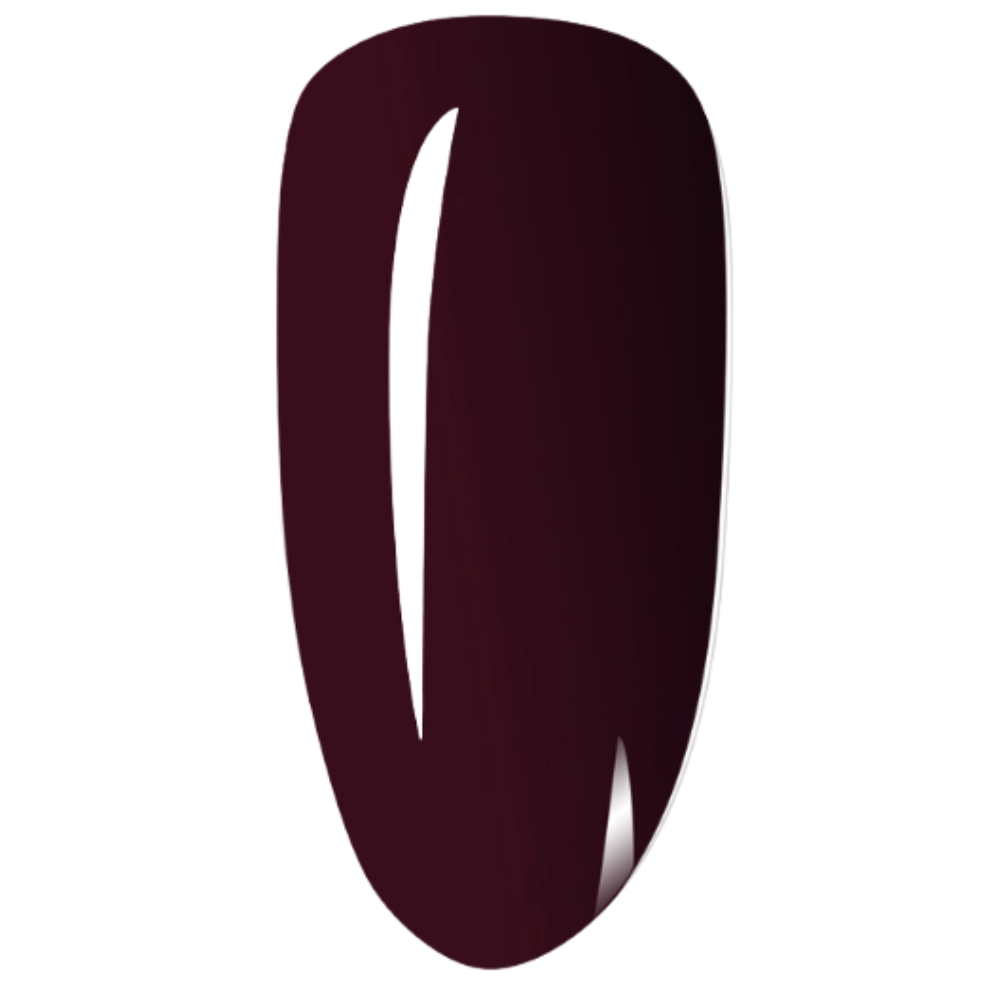
Colors used

Dark Roast Dipping PowderDark Roast Dipping PowderDark Roast Dipping Powder
Sale price€10,00
Dark Roast Dipping Powder
Diamond White Dipping PowderDiamond White Dipping PowderDiamond White Dipping Powder
Sale price€10,00
Diamond White Dipping Powder
Crystal Clear Dipping PowderCrystal Clear Dipping PowderCrystal Clear Dipping Powder
Sale price€10,00
Crystal Clear Dipping Powder

Reading next

Bright Future + Sapphire Black + Crystal Clear

Leave a comment

All comments are moderated before being published.

This site is protected by hCaptcha and the hCaptcha Privacy Policy and Terms of Service apply.

Ready for your new Glowdip nails?

Check out our selection of high-quality Glowdip dipping powder products and start dipping as early as tomorrow.

60-day money-back guarantee