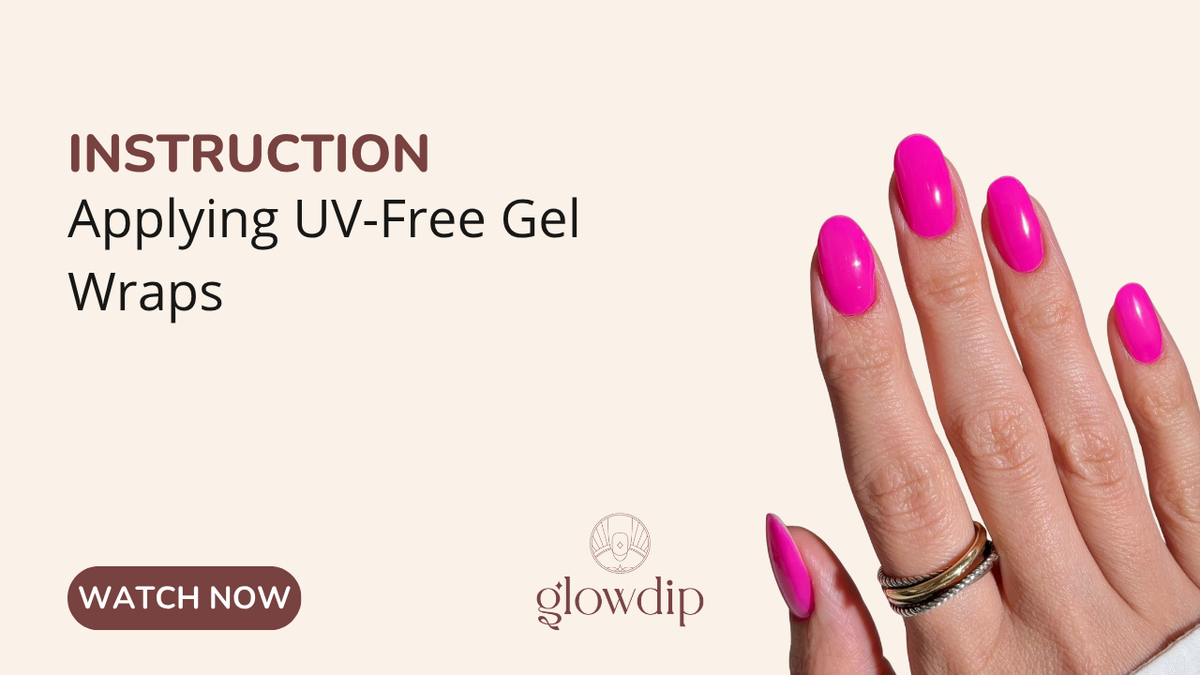
Tutorial: Applying UV-Free Gel Wraps
With the Glowdip UV-Free Gel Wraps, you can create a polished manicure in just a few minutes, completely without a UV lamp. Follow the steps below for the best and longest-lasting results.
Before you begin
Is this your first time using the UV-Free Gel Wraps? If so, apply one wrap first before doing the rest of your nails. This will help you get a feel for the application process quickly.
For best results, we recommend applying the wraps in the evening before bed. This gives the adhesive layer enough time to bond properly to your nails.
Step 1: Prepare your nails
Proper preparation is key to keeping the wraps looking beautiful for as long as possible.
- Wash your hands and dry them thoroughly.
- Wait about 10 minutes before you begin.
- Gently push back your cuticles with a cuticle pusher.
- Lightly buff your nail plate until the natural shine is gone.
- Clean each nail thoroughly with a Prep Wipe.
- Optional: Apply a thin layer of Primer.
Tip: After preparing your nails, touch your nail plate as little as possible with your fingers. Skin oils can prevent the wraps from adhering properly.
Step 2: Choose the Right Size
For each nail, choose the wrap that best matches the width of your nail.
If you’re unsure between two sizes, choose the slightly smaller size for a more natural result. The wraps are slightly stretchy and can be gently adjusted to the shape of your nail.
Make sure the wrap doesn’t touch your skin or cuticles. This can cause the wrap to peel off sooner.
Step 3: Heat, Remove & Apply
Heat the wrap for about 10 seconds with a hair dryer. This makes it more flexible and allows you to apply it smoothly over your nail.
- Carefully peel off the wrap.
- Place it about 1 mm from your cuticle.
- First, press the wrap firmly in the center of the nail.
- Then smooth it out from the center toward the sides.
- Press the wrap firmly for about 15 seconds to ensure the adhesive layer is fully activated.
Check carefully to make sure there are no air bubbles or wrinkles under the wrap.
Step 4: Trim, shape & file
Trim off the excess portion of the wrap with nail scissors or nail clippers.
Carefully fold down the small piece that’s still sticking out beyond the free edge of your nail.
Then file away the excess material with a downward motion until the wrap lies flush with your natural nail.
Extra tip: After filing, you may want to briefly warm the wrap and, most importantly, press the edges firmly once more for optimal adhesion.
Step 5: Let the wraps bond properly
The first few hours are crucial for bonding.
Avoid the following during the first 2–3 hours:
- water;
- cleaning or doing dishes;
- intensive use of your hands;
- cuticle oil and other oils around your nails.
The adhesive layer continues to bond to your nail during this period. By keeping your nails dry, you reduce the chance that the wraps will peel off prematurely.
Done!
Your Glowdip UV-Free Gel Wraps are applied. No drying time and no UV lamp required—just beautiful, well-groomed nails in a few simple steps.
Removing UV-Free Gel Wraps
Apply a small amount of cuticle oil around the edges of the wrap and let it soak in for about 1–2 minutes.
Then gently lift a corner of the wrap with a cuticle pusher and carefully peel the wrap off your nail.
Don’t pull the wrap off the nail forcefully or abruptly; instead, work carefully from edge to edge.


Laissez un commentaire
Tous les commentaires sont modérés avant d'être publiés.
Ce site est protégé par hCaptcha, et la Politique de confidentialité et les Conditions de service de hCaptcha s’appliquent.