

Products used:
Step-by-step instructions for applying "Smoke + Crystal Clear" Dipping Powder


Materials:
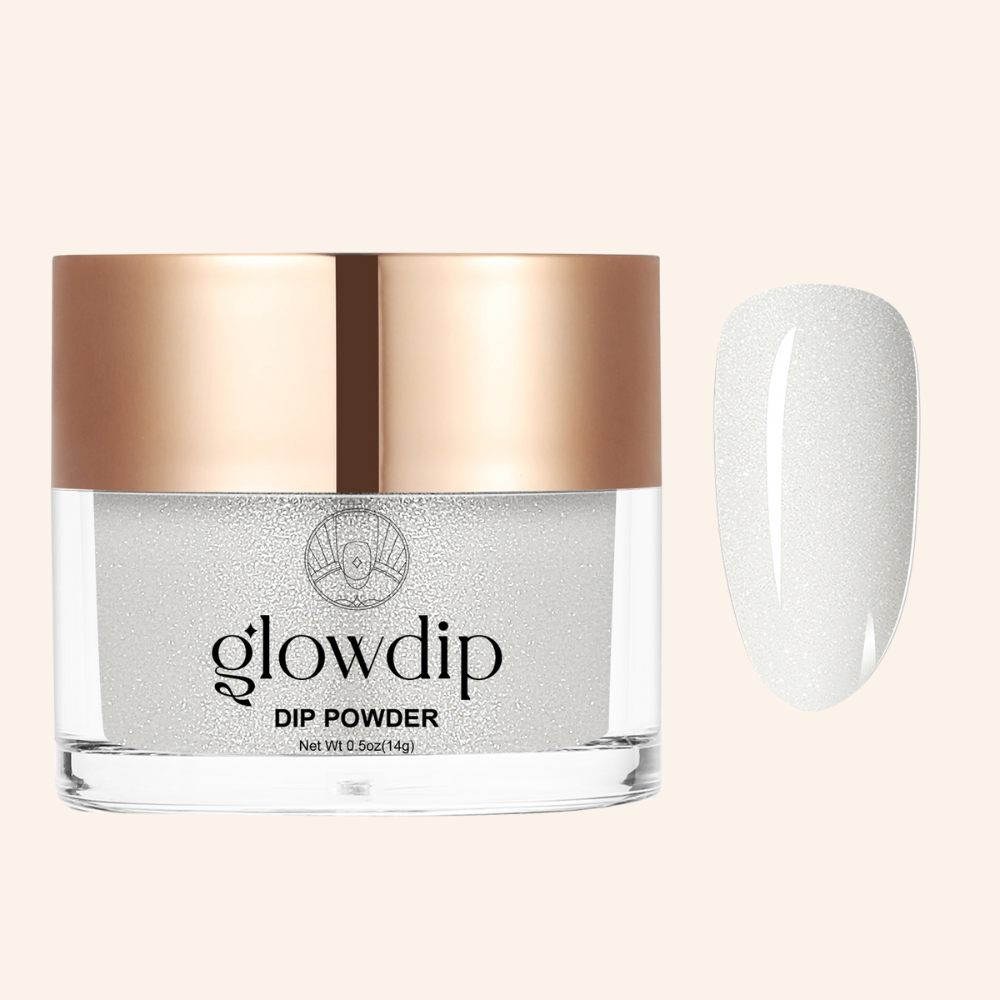
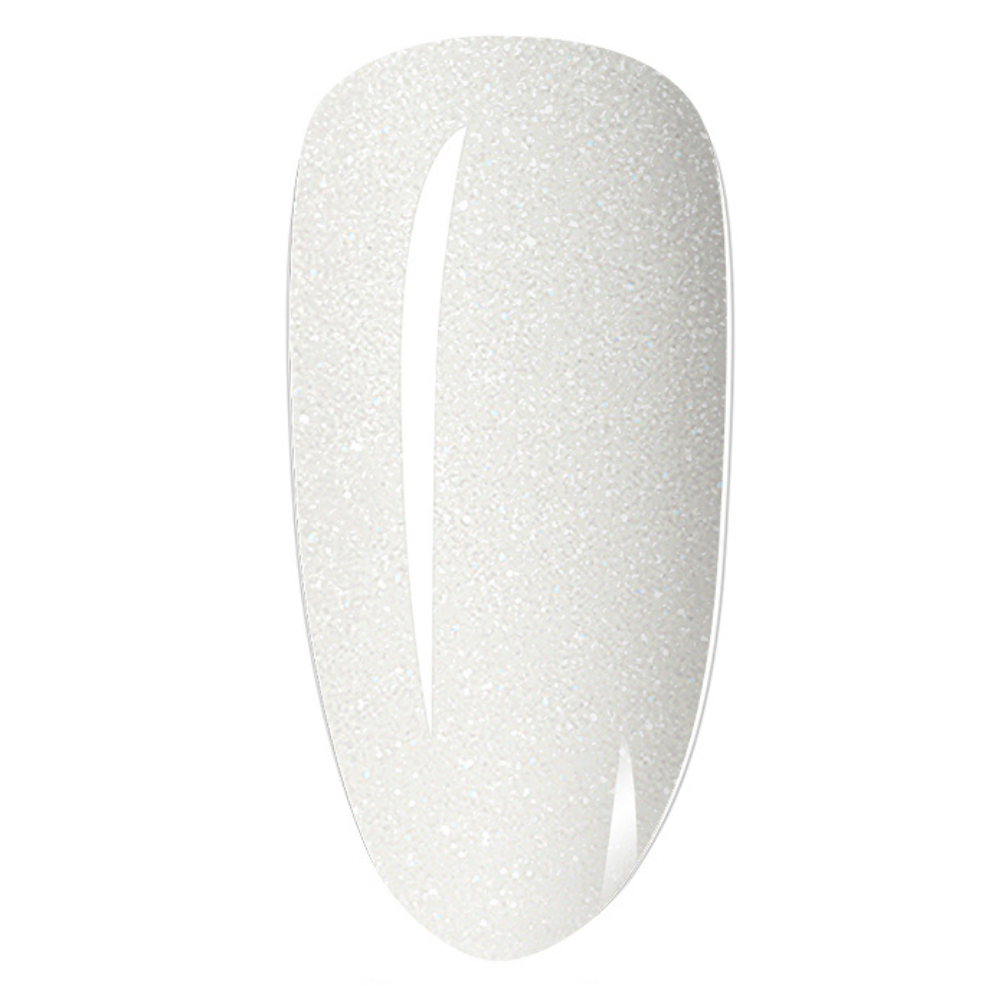
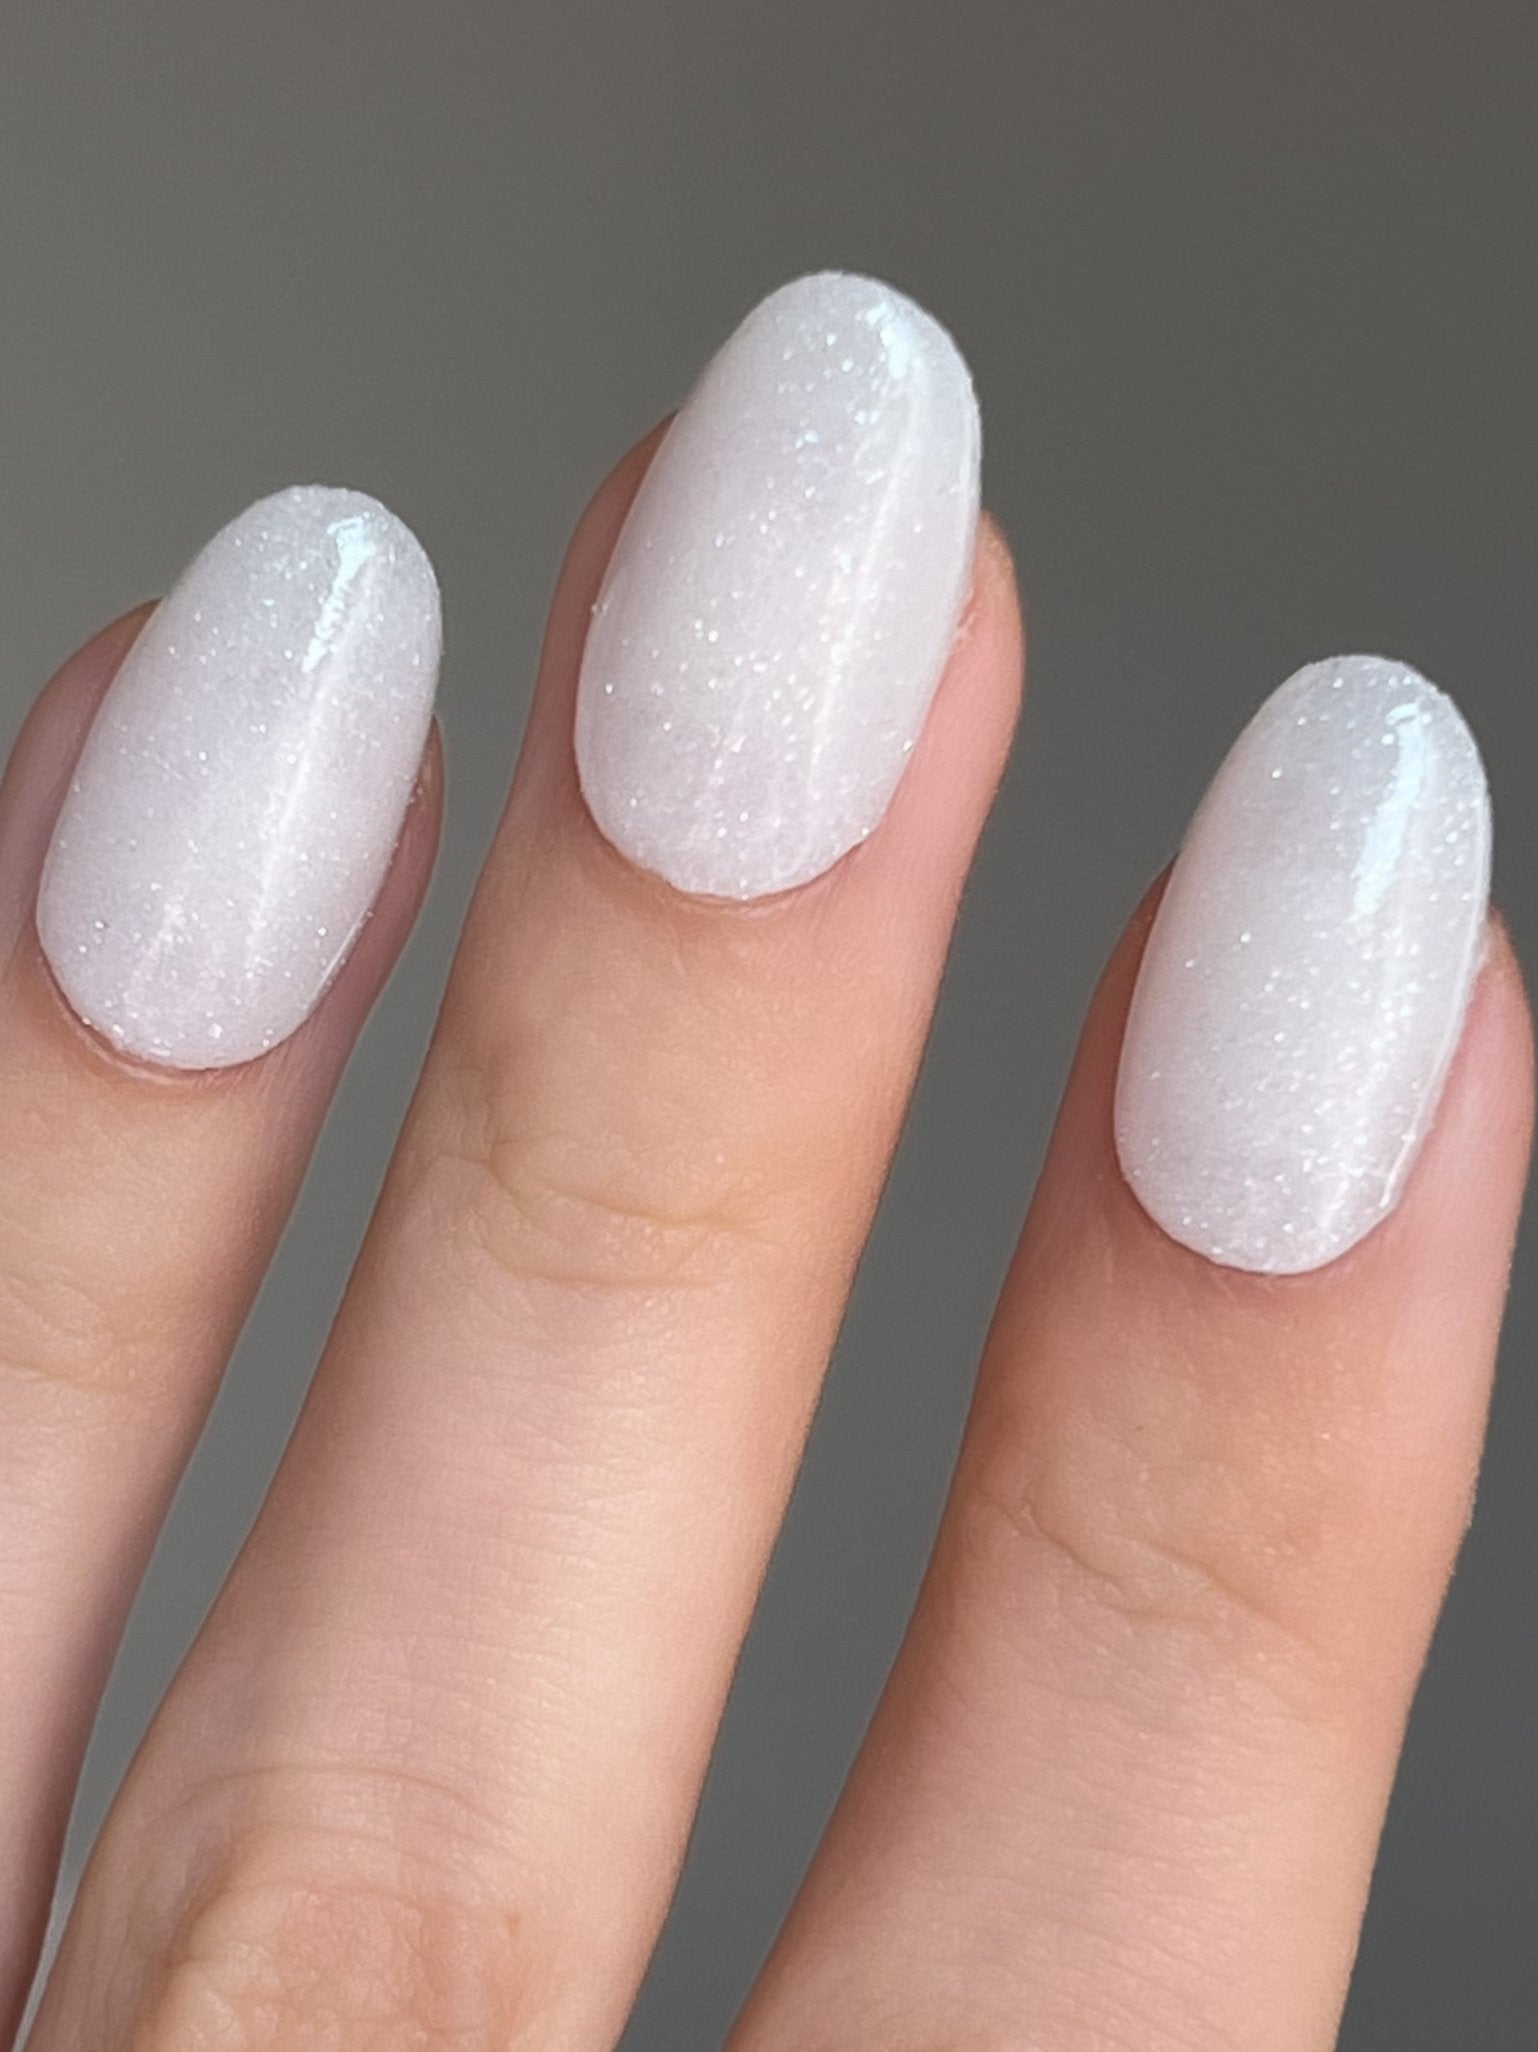
- Smoke Dipping Powder
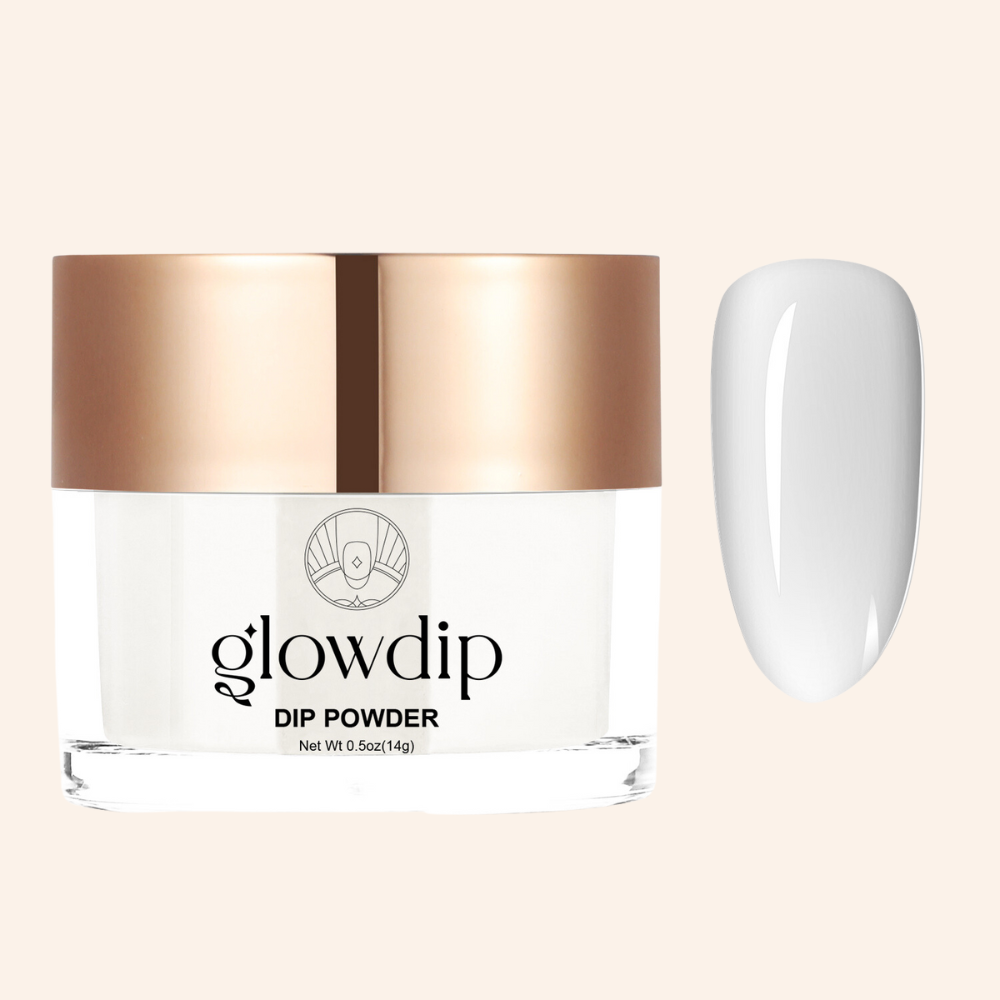
- Crystal Clear Dipping Powder
- Base coat
- Activator
- Top coat
- Nail file and buffer
- Dusting brush or soft brush
Preparation
File your nails into the desired shape and gently push back your cuticles.
For optimal adhesion, lightly roughen/match the natural nails with a buffer block or the fine side of a file before application.
Be sure to remove invisible cuticle and skin debris as well, to avoid lifting.
Do not apply oils or creams before use.
Step 1: Base coat
Repeat step 1 for optimal coverage, adhesion and beautiful and stunning color intensity.
Step 3: Activator Coat
Apply enough Activator Coat over the entire nail surface, edges and also at the tip. The Activator is the most important step in the application process because it seals and binds the layers to the nail, preventing air bubbles from forming and ensuring long-lasting adhesion. Allow the Activator Coat to dry for at least two minutes.
Step 4: Filing & Polishing
Now you can use the fine side of the file or a buffer to buff away all bumps and imperfections and bring the nails to the desired shape and thickness. It is important to file carefully so that you do not damage the surface and nails.
Step 5: Activator Coat
Repeat step 3. Again, apply enough Activator Coat to the entire nail and its perimeter to seal the layers optimally. Then allow the Activator Coat to dry for at least two minutes. To make sure the Activator Coat is dry, you can clean the surface of the nail with a paper towel after 2 minutes. This is to prevent the Top Coat from curing due to contamination.
Allow 2-3 minutes of waiting time between Top Coat and Activator Coat.
Step 6: Top Coat
Apply a thin layer of Top Coat evenly with 2-3 quick strokes and allow it to dry for at least two minutes.
Step 7: Top Coat
Repeat step 6. Apply a second, thin coat of Top Coat to the nails. Then let this dry for 2-3 minutes.
And voila! With these simple steps, you will create beautiful, long-lasting nails with the 'Smoke + Crystal Clear' dipping powder. Have fun with your beautiful nails!
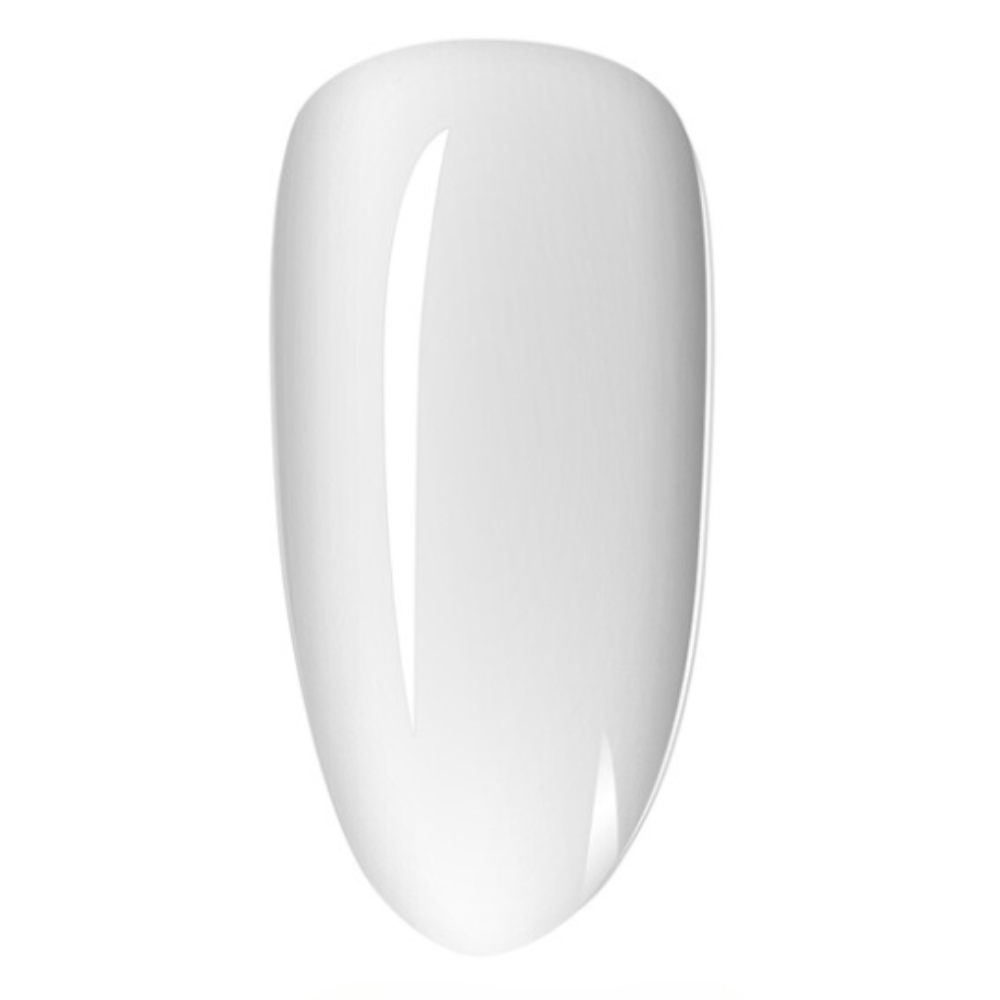
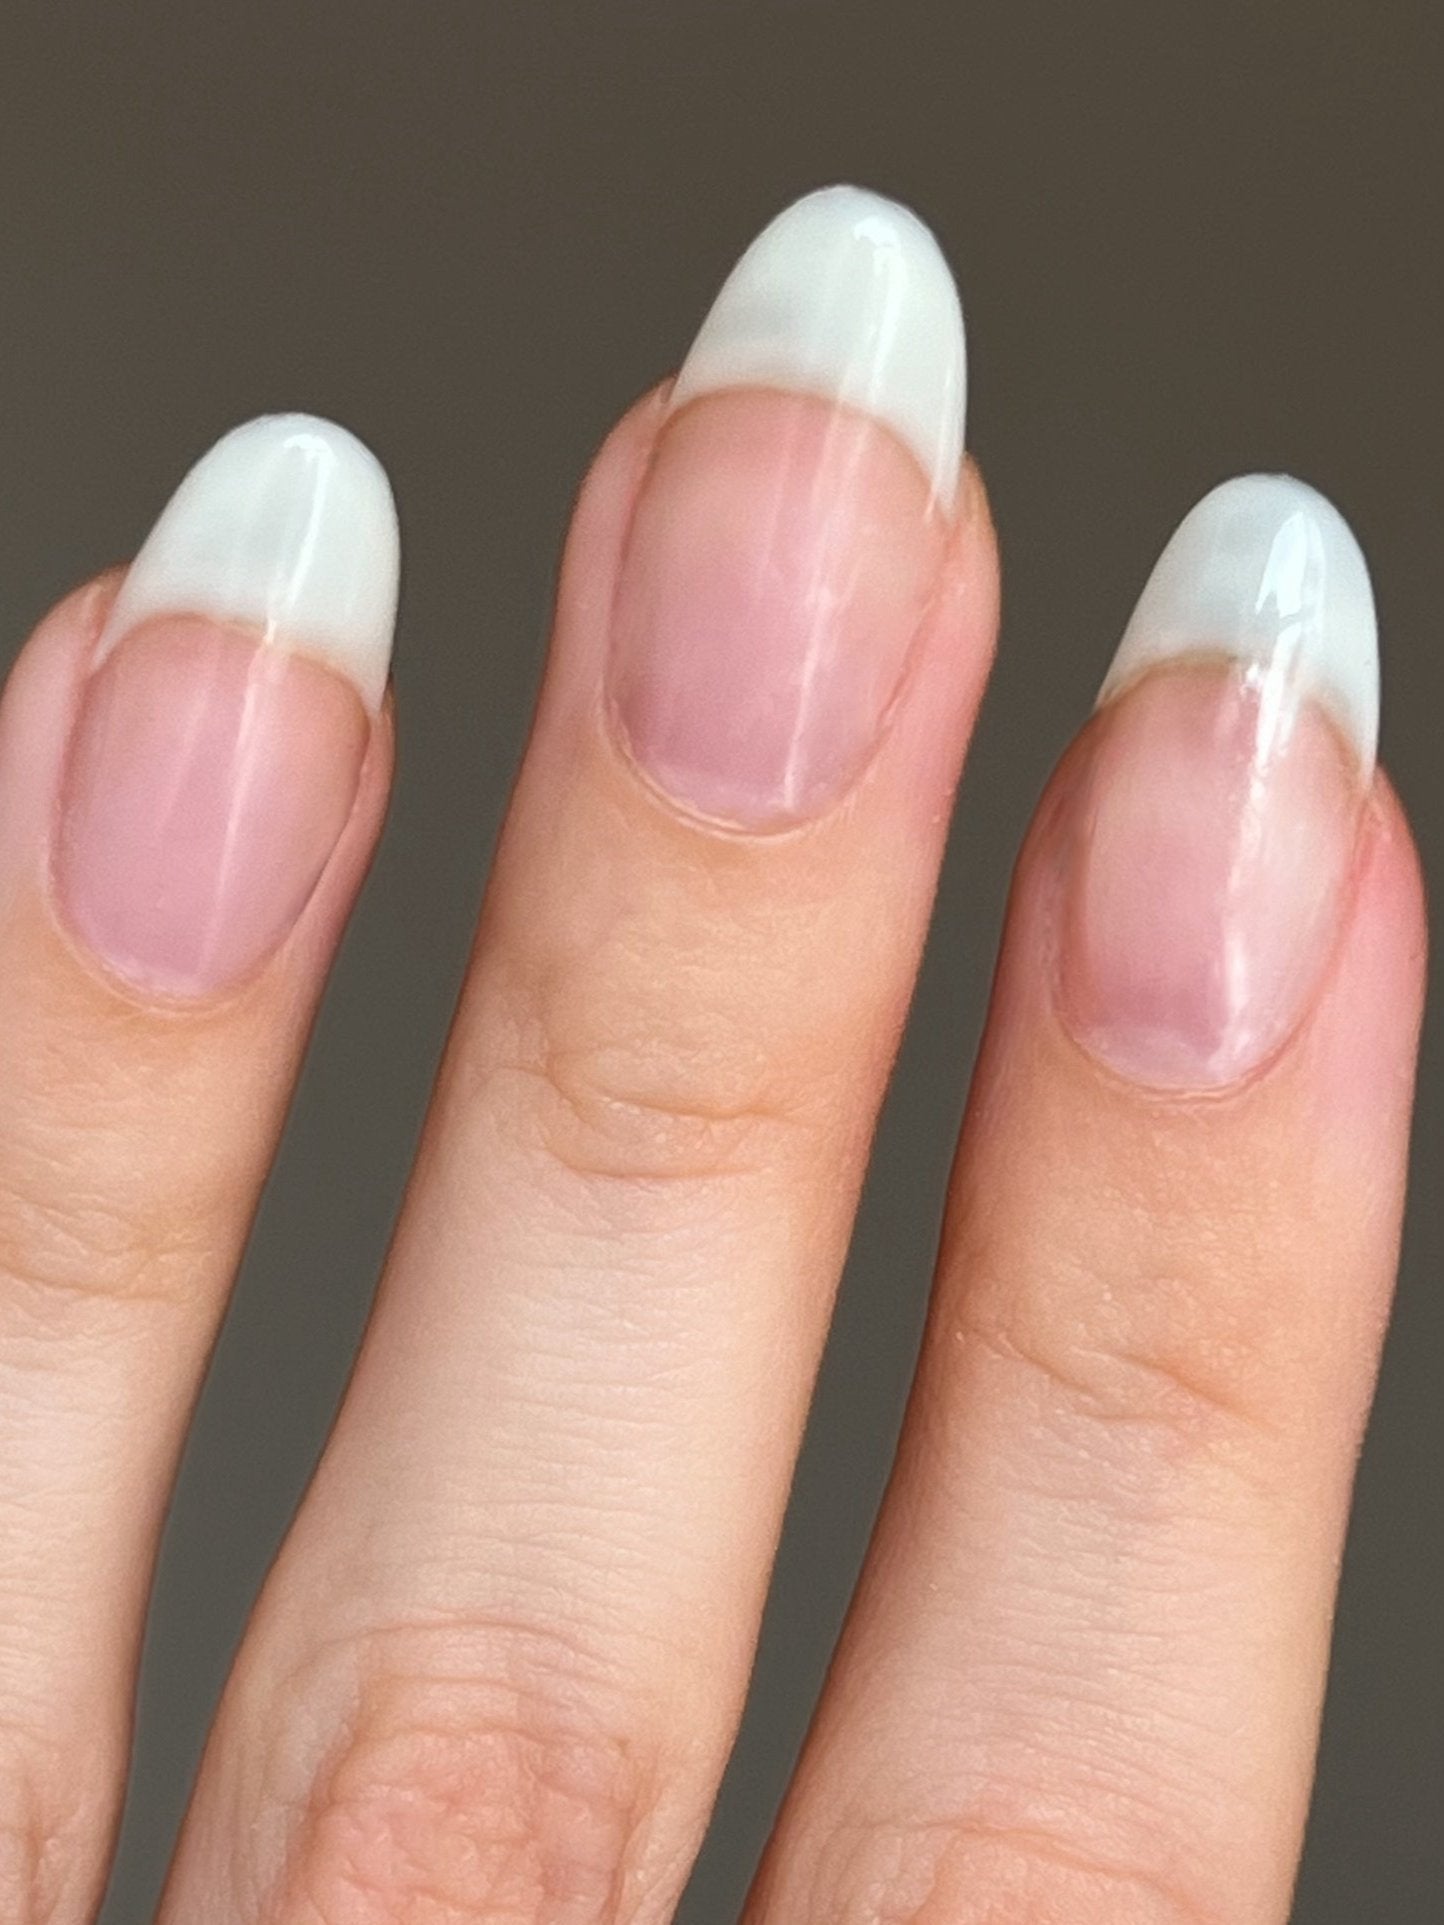
Couleurs utilisées




Laissez un commentaire
Tous les commentaires sont modérés avant d'être publiés.
Ce site est protégé par hCaptcha, et la Politique de confidentialité et les Conditions de service de hCaptcha s’appliquent.