

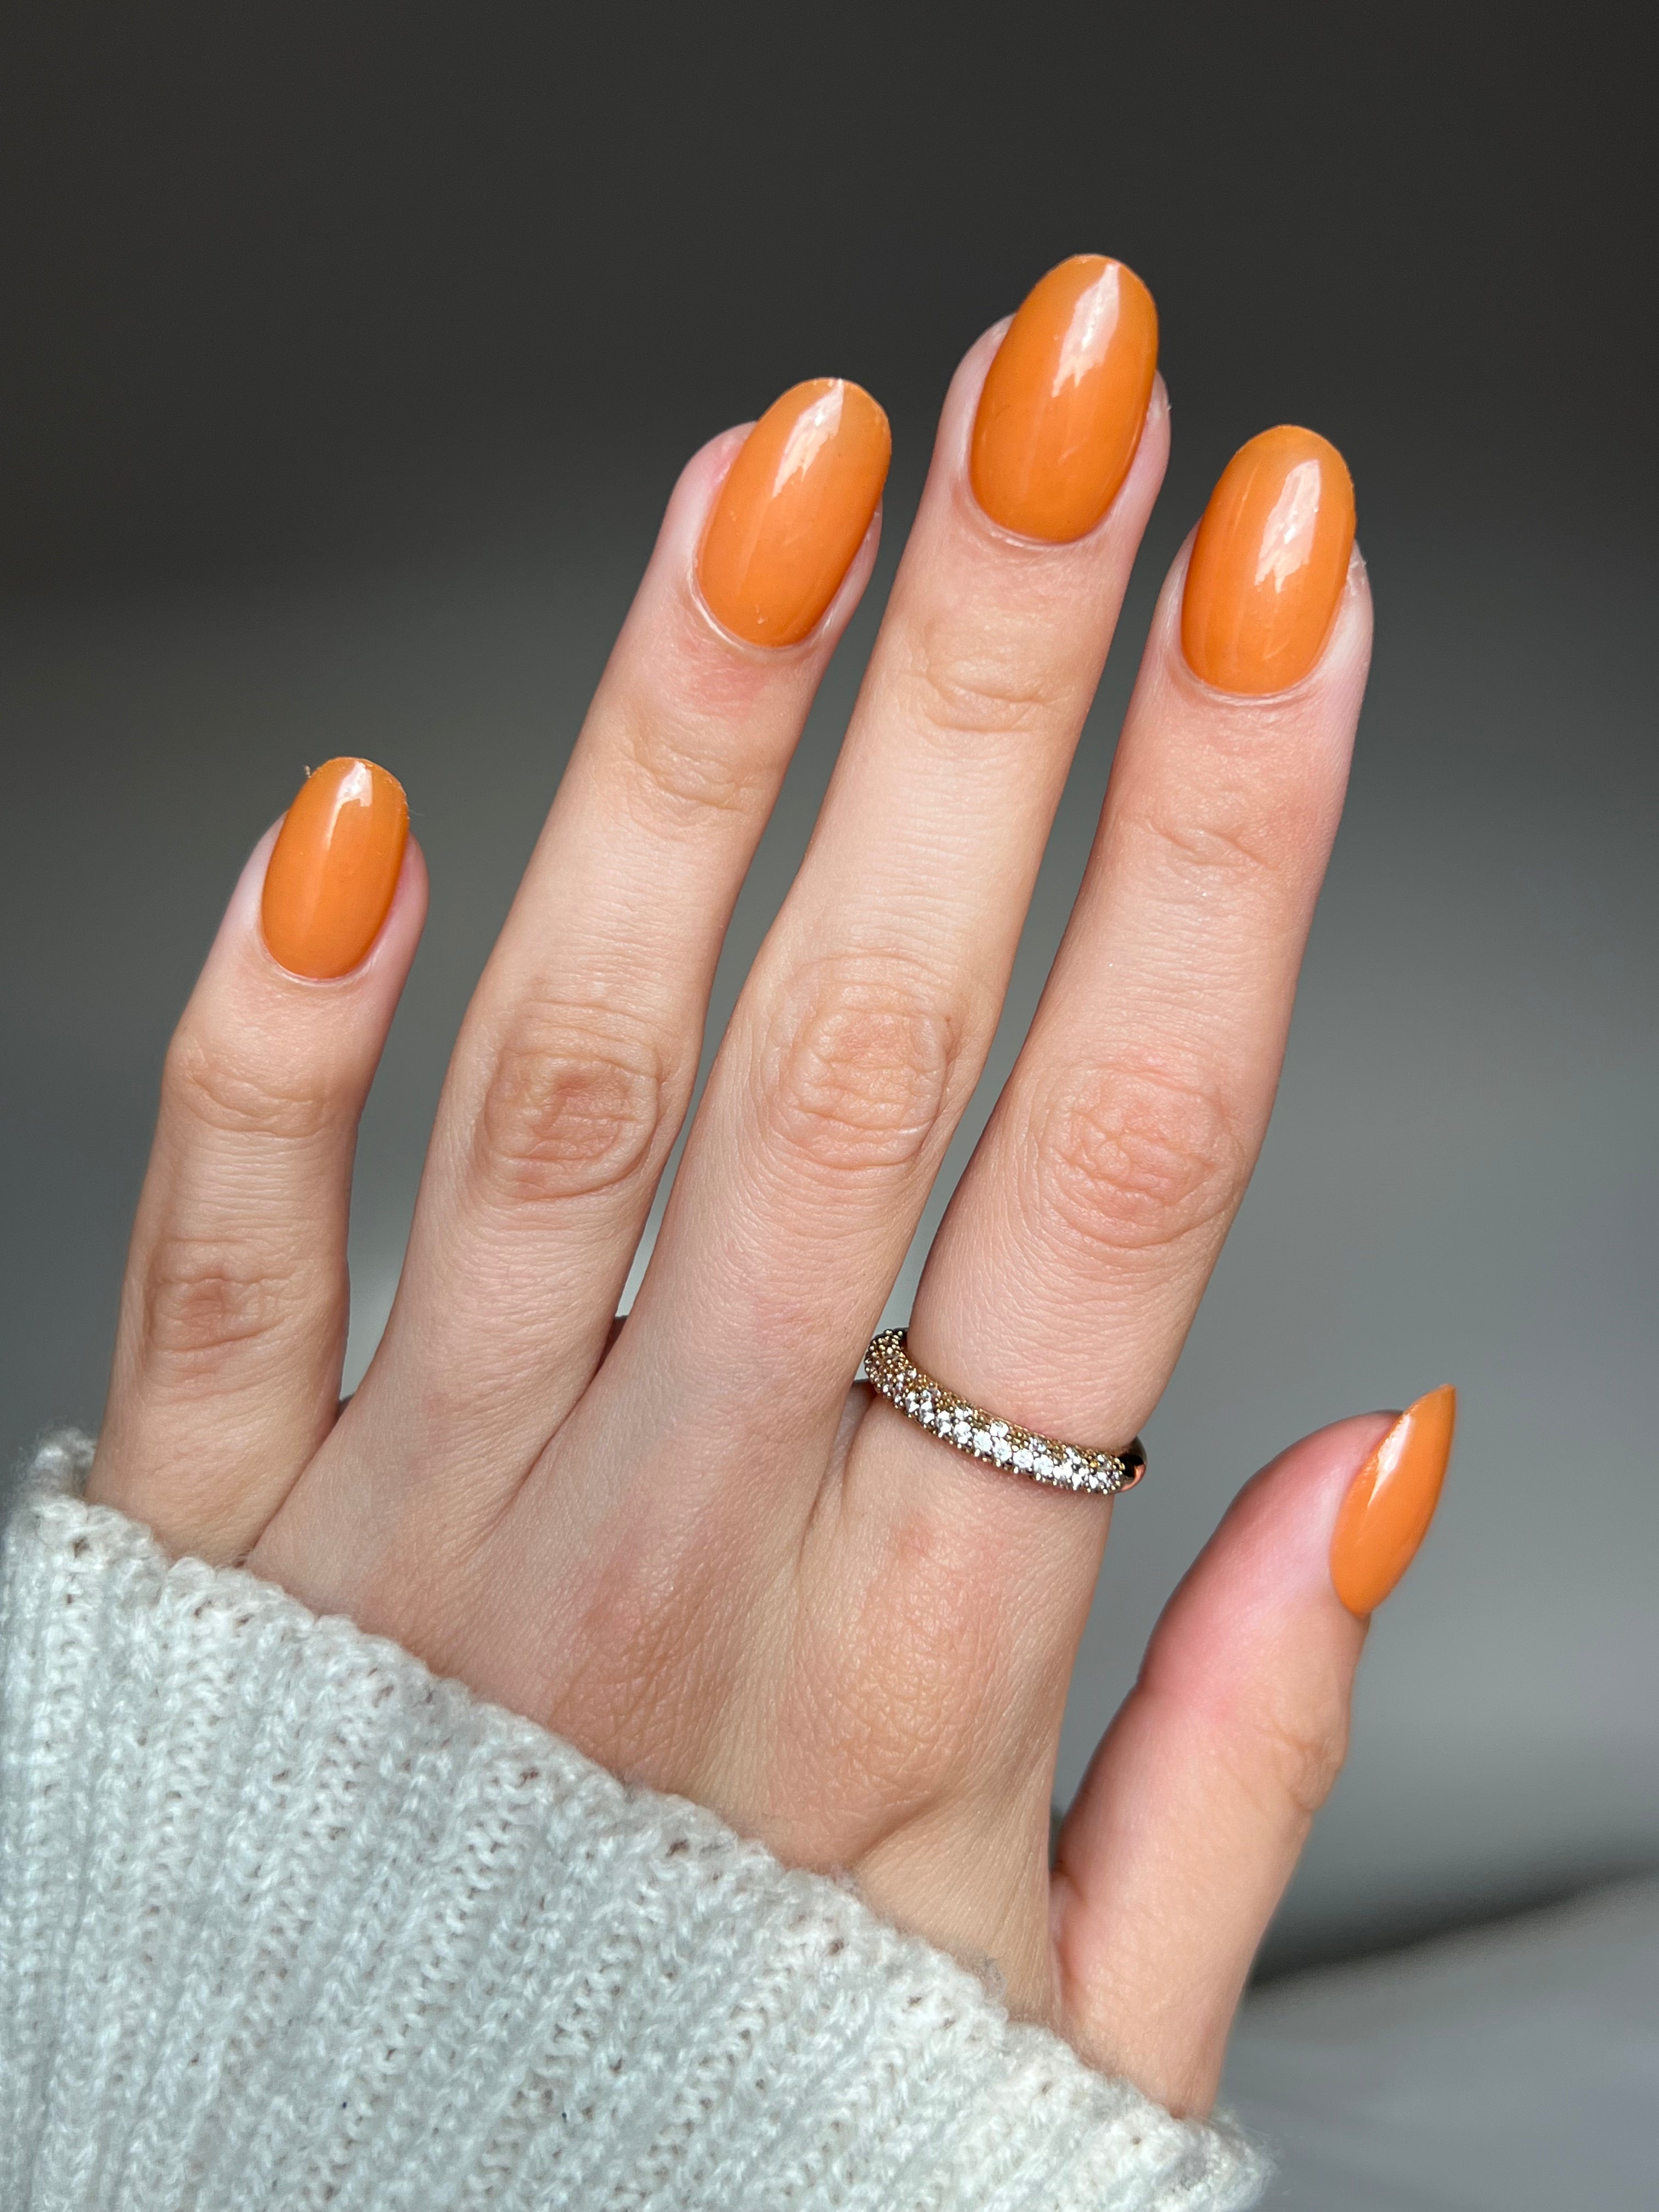
Products used:
Step-by-step instructions for applying "Coconut + Sapphire Black + Amber Clay" Dipping Powder


Materials:
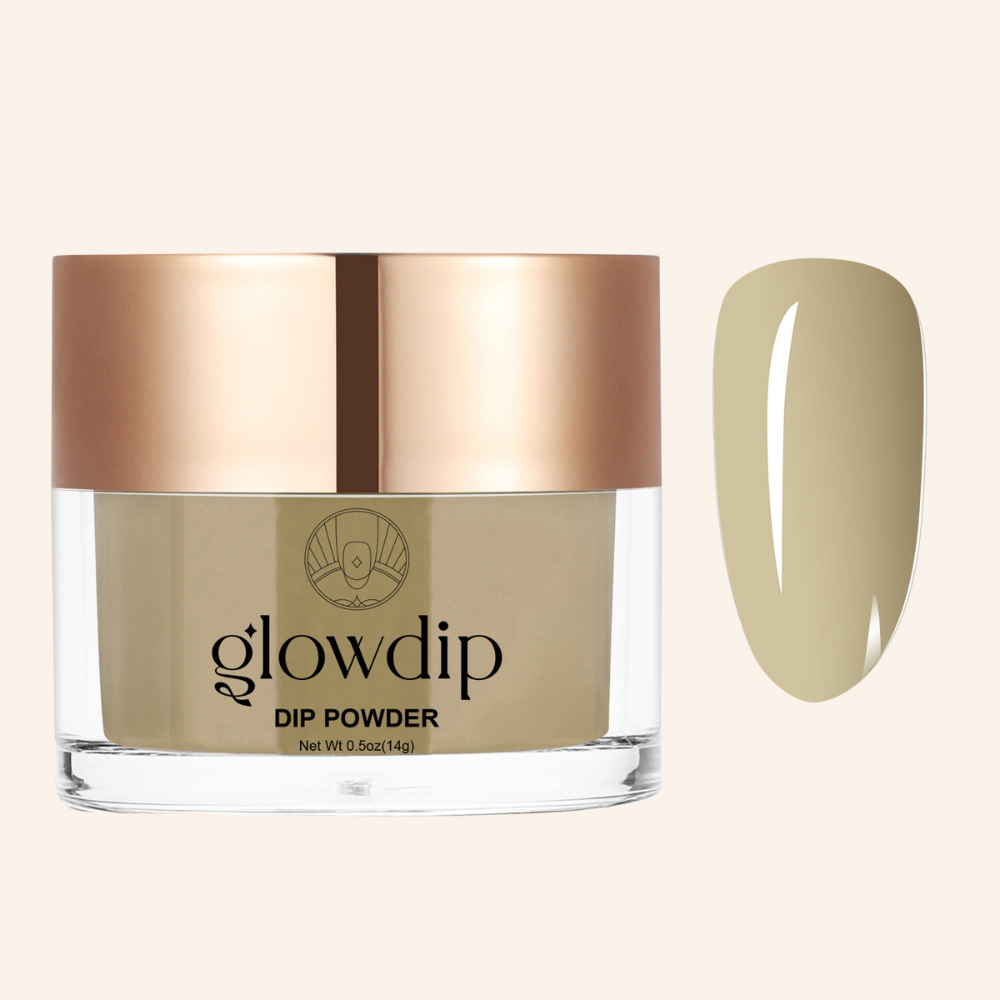
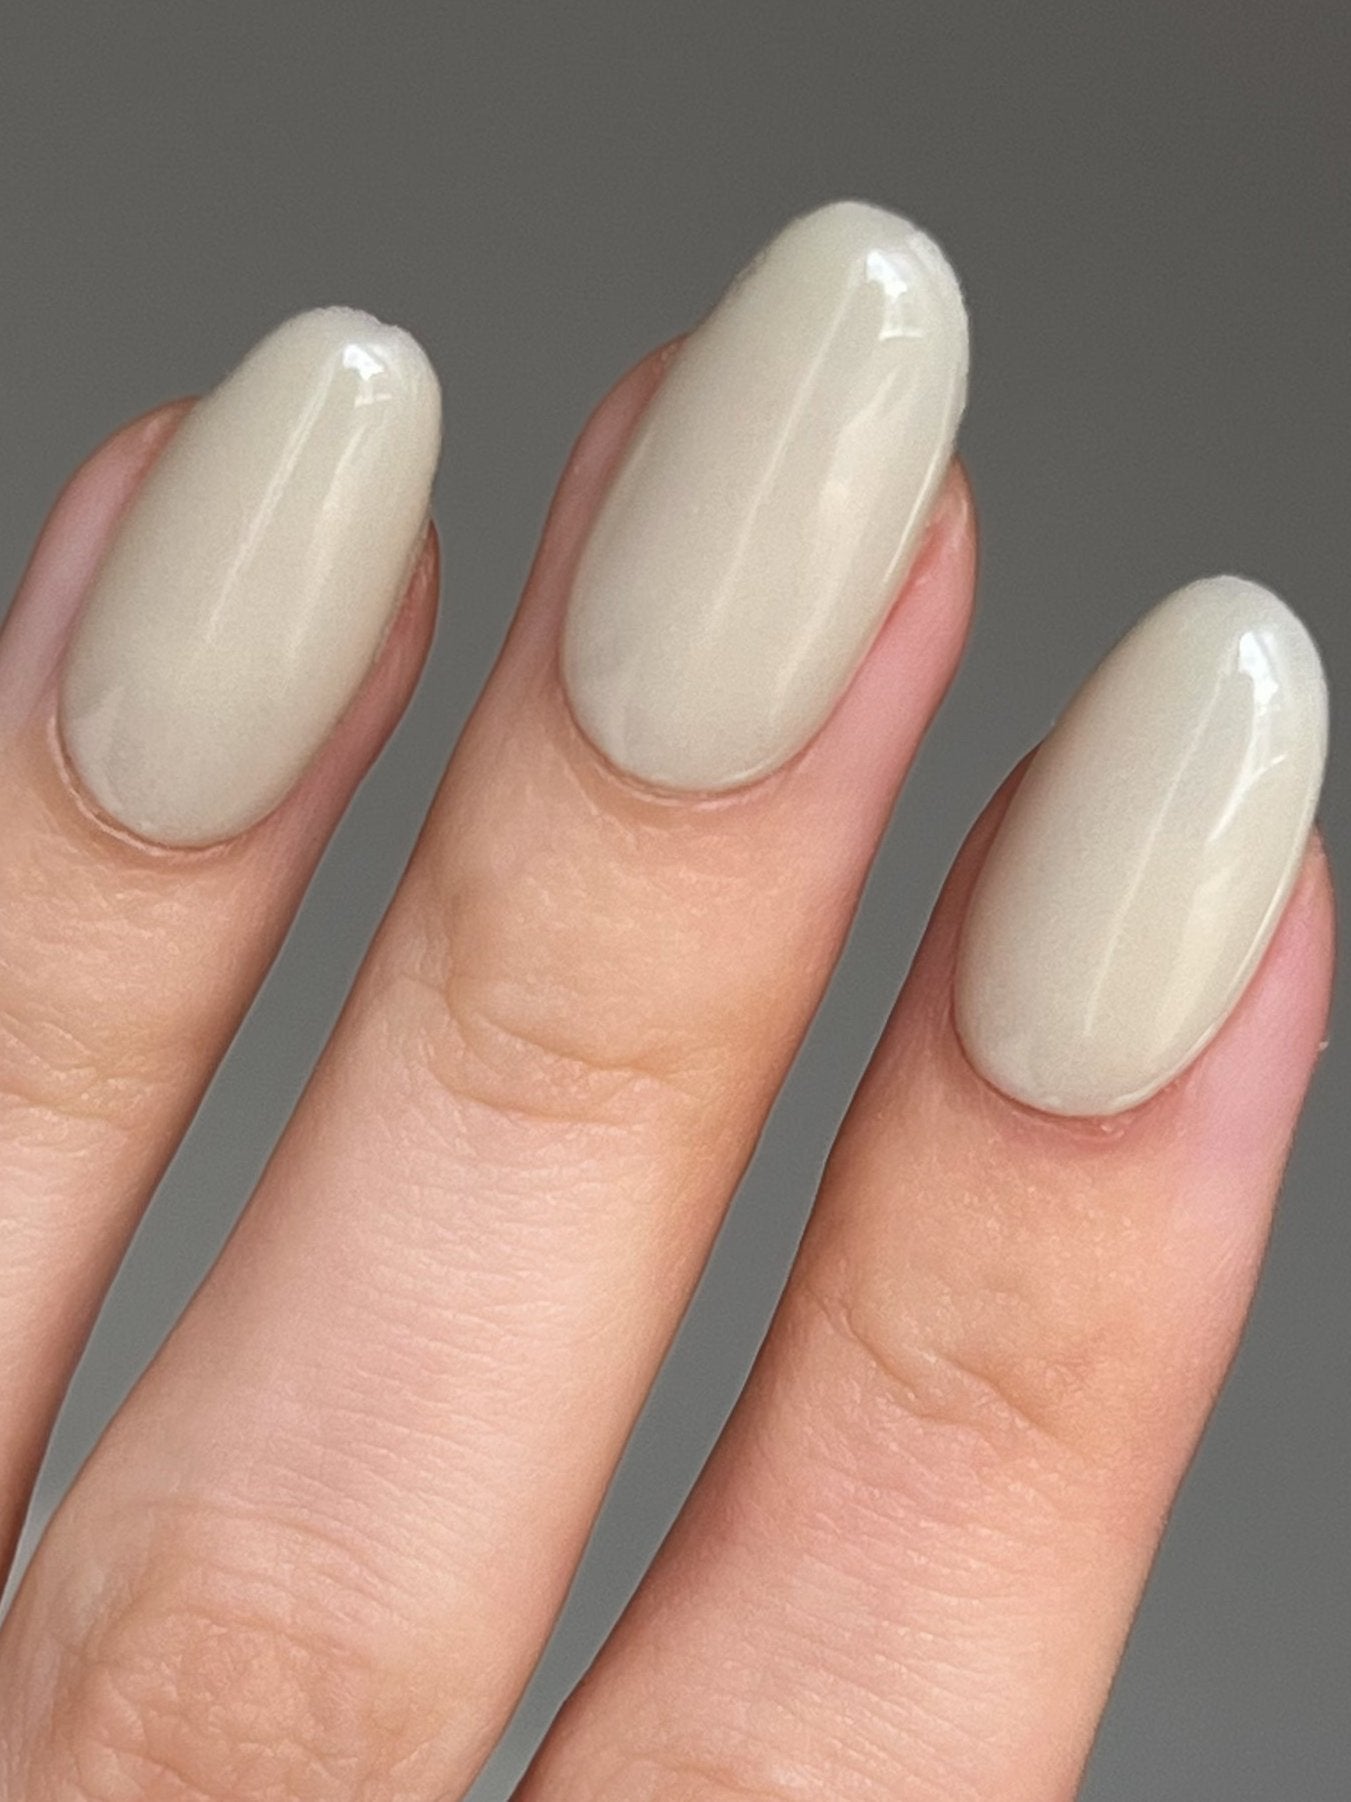
- Coconut Dipping Powder
-
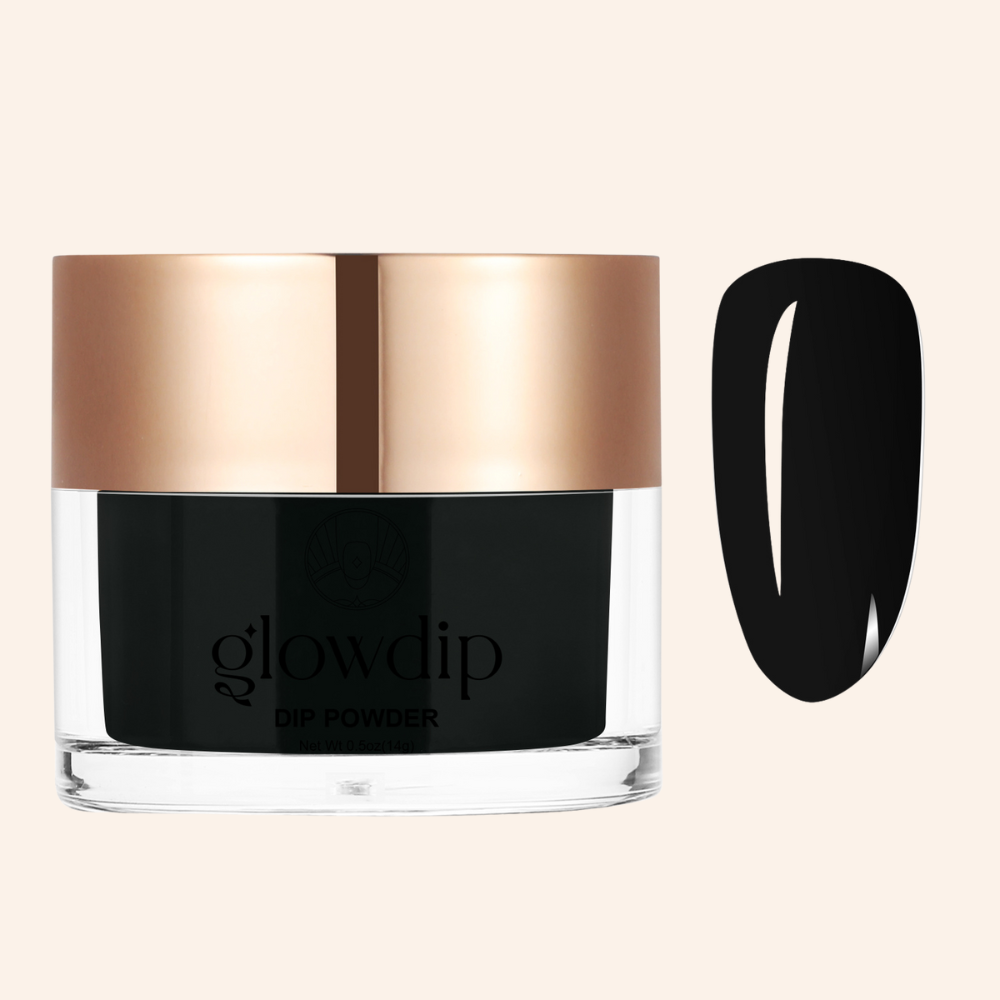
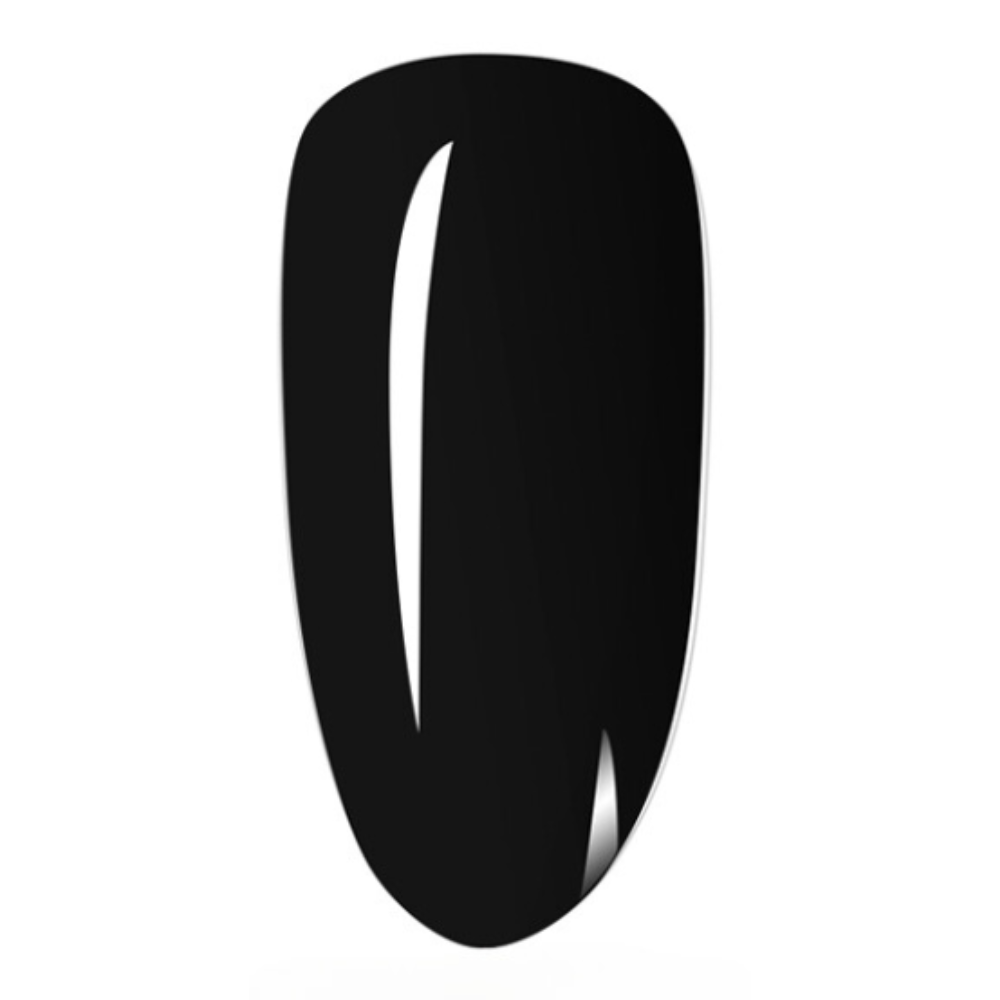
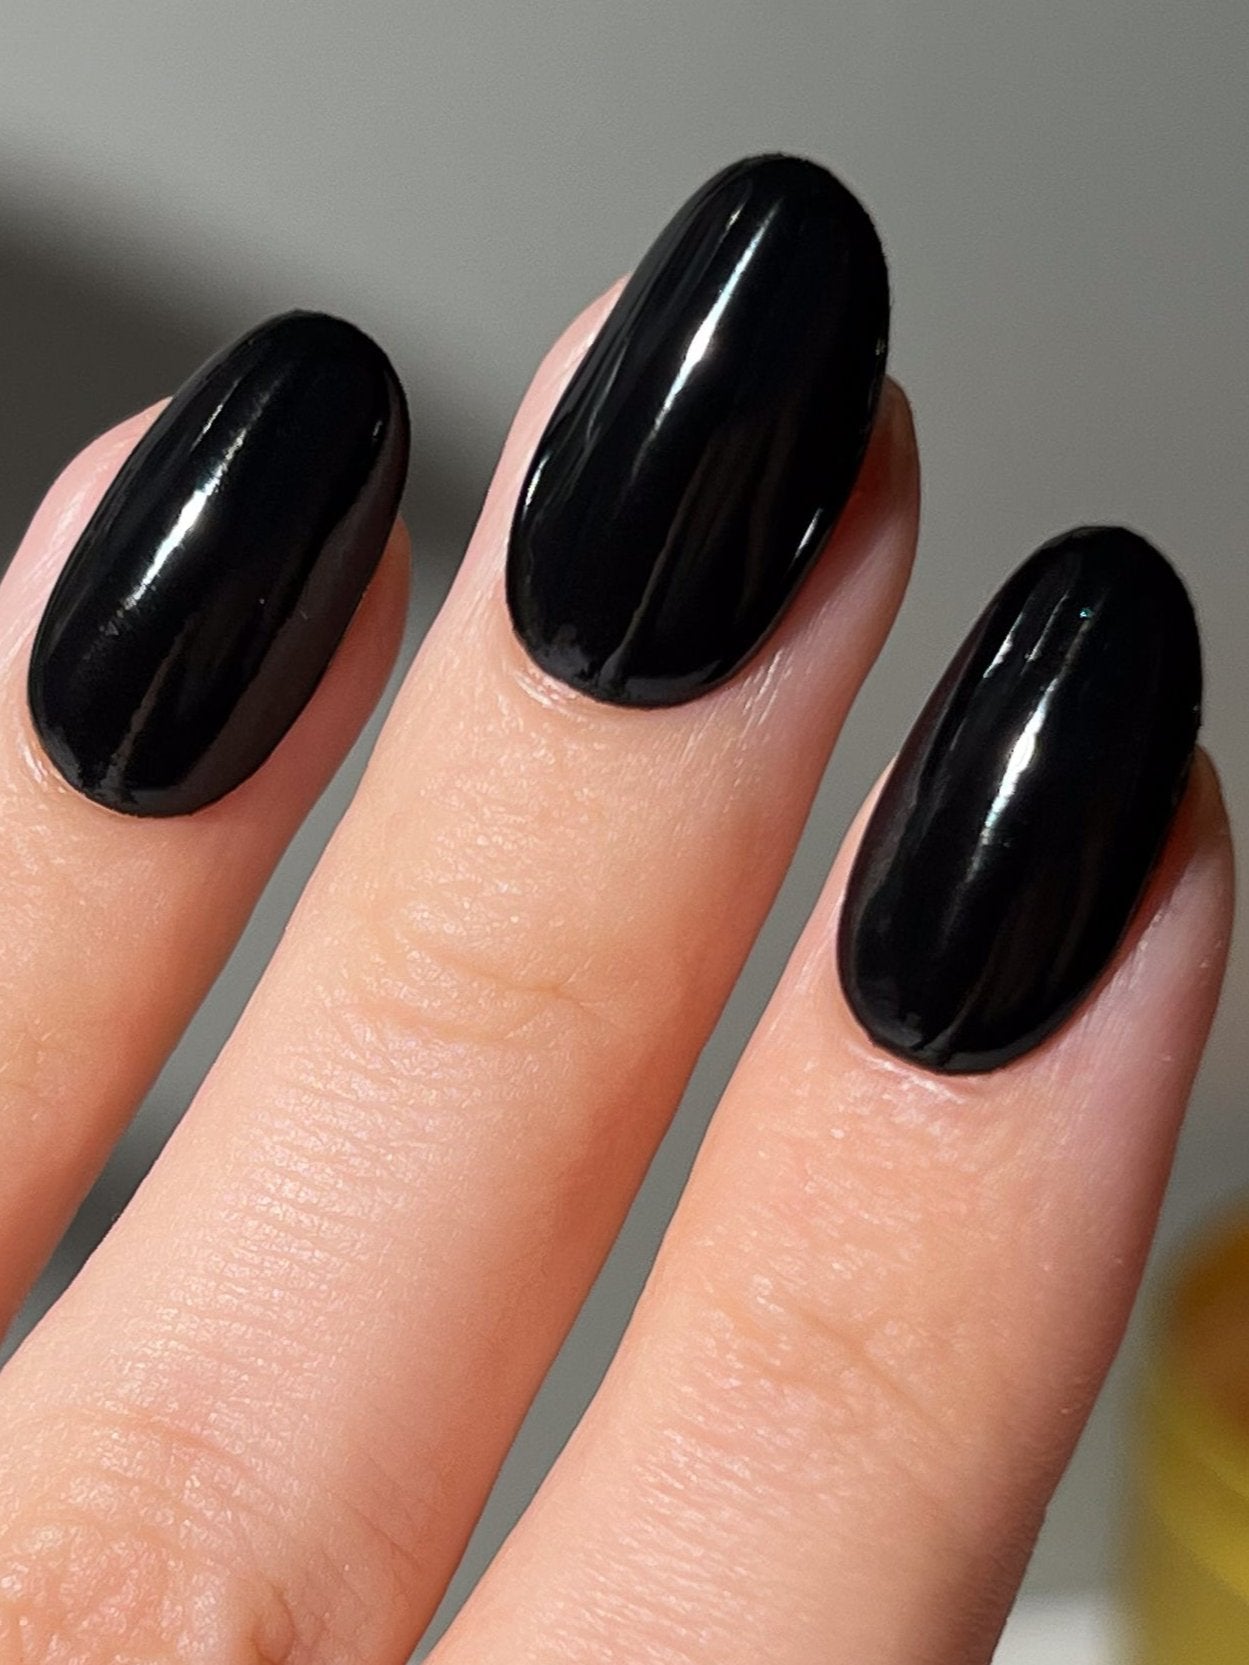
Sapphire Black Dipping Powder
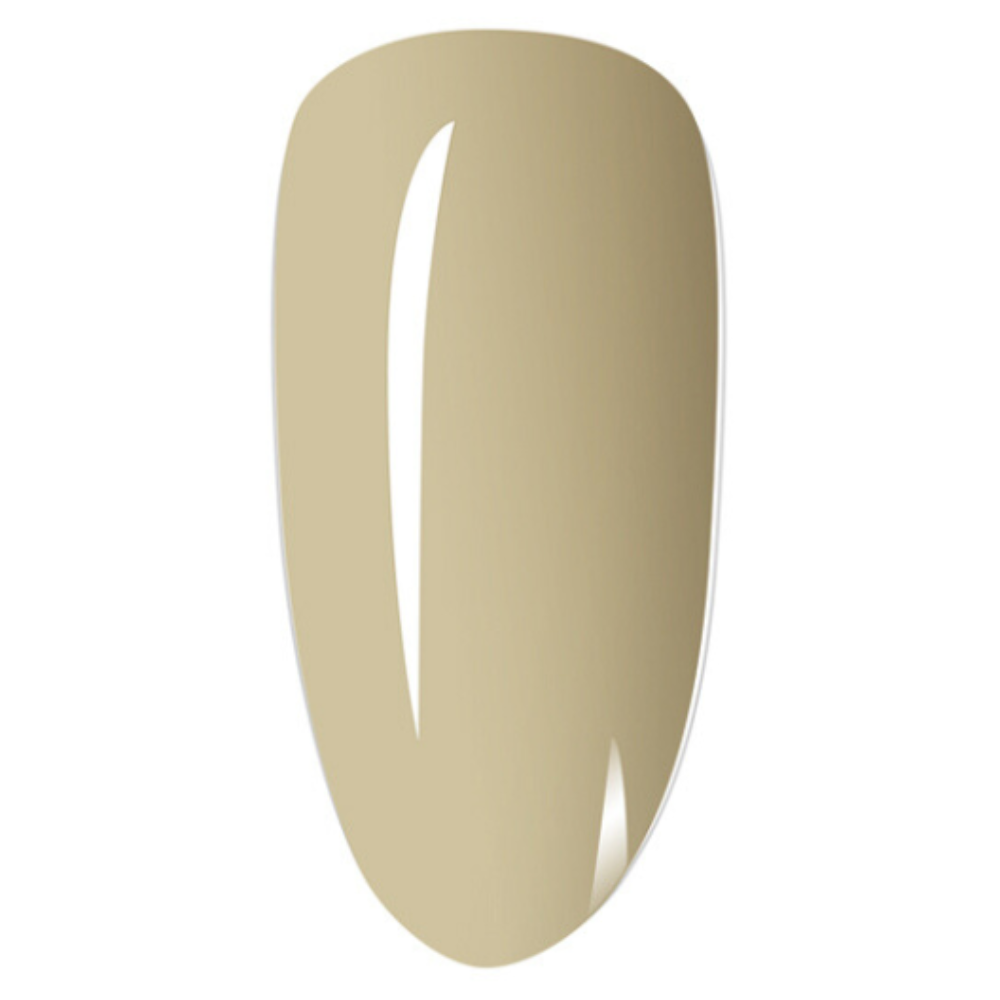
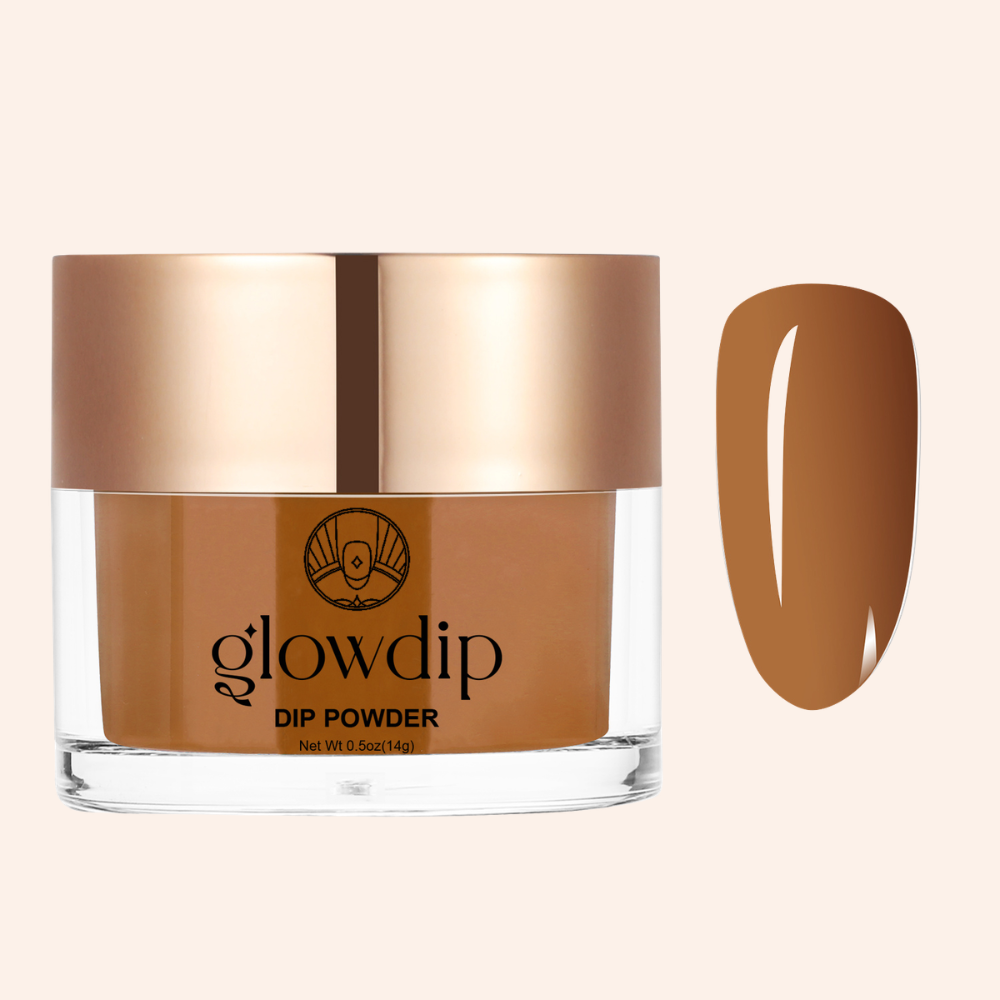
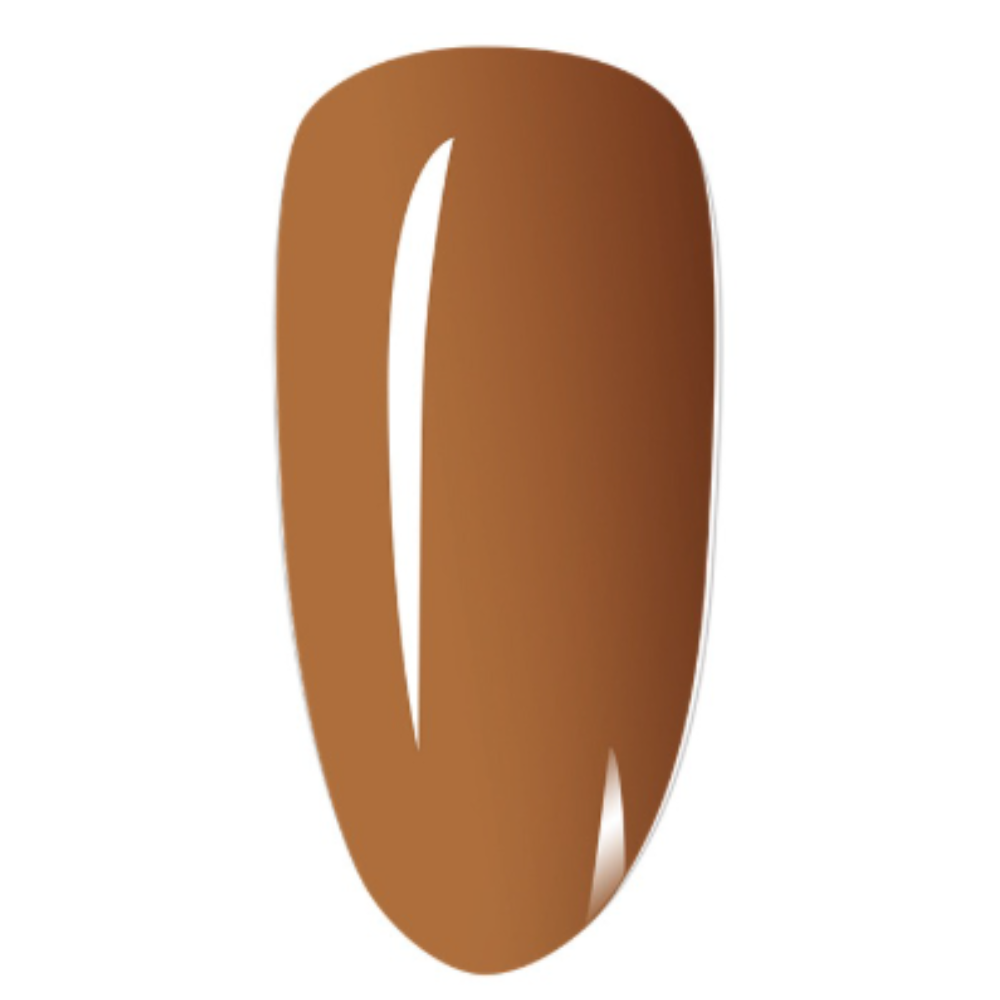
- Amber Clay Dipping Powder
- Nail Art Liner
- Base coat
- Activator
- Top coat
- Nail file and buffer
- Dusting brush or soft brush
Preparation
File your nails into the desired shape and gently push back your cuticles.
For optimal adhesion, lightly buff the natural nails with a buffer block or the fine side of a nail file before application.
Be sure to remove any invisible cuticles and skin residue to prevent them from lifting.
Do not apply any oils or creams before use.
Step 1: Base Coat & Color Powder
Apply a thin layer of Base Coat. The first coat should be applied quickly and doesn’t need to be too precise. Be careful not to paint over the cuticles, as this can cause air bubbles under the nails and affect adhesion.
For the index finger: apply base coat to the entire nail and dip it completely into “Sapphire Black.” For the middle finger: apply base coat to the entire nail and dip it completely into “Amber Clay.” For the thumb, ring finger, and little finger: apply a base coat to the entire nail and dip it completely into “Coconut.” Tap off excess powder and gently brush away any loose particles. Apply a second thin layer of base coat to all nails and repeat the dip in their respective colors to build up full coverage and an even finish. Brush thoroughly to clean.
Apply a thin layer of base coat to one nail. Make sure to cover the edges well, but do not touch the skin around the nail.
Step 2: Base Coat & Color Powder
Repeat Step 1 for optimal coverage, adhesion, and beautiful, vibrant color intensity.
Step 3: Activator Coat
Apply a sufficient amount of Activator Coat over the entire nail surface, including the edges and the tip. The Activator is the most important step in the application process, as it seals the layers, bonds them to the nail, prevents air bubbles from forming, and ensures long-lasting adhesion. Let the Activator Coat dry for at least two minutes.
Step 4: Filing & Buffing
Now you can use the fine side of the file or a buffer to smooth out any unevenness and imperfections and shape the nails to the desired shape and thickness. It’s important to file gently so you don’t damage the surface or the nails.
Step 5: Activator Coat
Repeat step 3. Once again, apply a sufficient amount of Activator Coat to the entire nail and its perimeter to optimally seal the layers. Then let the Activator Coat dry for at least two minutes. To ensure the activator is dry, you can wipe the surface of the nail with a paper towel after 2 minutes. This prevents the Top Coat from curing prematurely due to contamination.
Allow a 2–3-minute waiting period between the Top Coat and the Activator Coat.
Step 6: Top Coat
Apply a thin layer of Top Coat evenly with 2–3 quick strokes and let it dry for at least two minutes.
Once it’s dry, use the Glowdip Nail Art Liner to create your designs. Let the liner design dry completely before continuing.
Step 7: Top Coat
Repeat Step 6. Apply a second, thin layer of Top Coat to the nails. Then let it dry for 2–3 minutes.
With these simple steps, you can create beautiful, long-lasting nails using the “Coconut + Sapphire Black + Amber Clay” dipping powder. Enjoy your gorgeous nails!
Couleurs utilisées


Laissez un commentaire
Tous les commentaires sont modérés avant d'être publiés.
Ce site est protégé par hCaptcha, et la Politique de confidentialité et les Conditions de service de hCaptcha s’appliquent.