Step-by-Step Glowdip Guide 📖
New to dip powder nails? Welcome to Glowdip! This guide is designed especially for beginners and shows you, step by step, how to create strong, beautiful nails—right at home.
Take your time, follow the steps, and remember: every set gets better. Let's Glow! ✨
Step 1: Prepare your nails.
What you'll need:
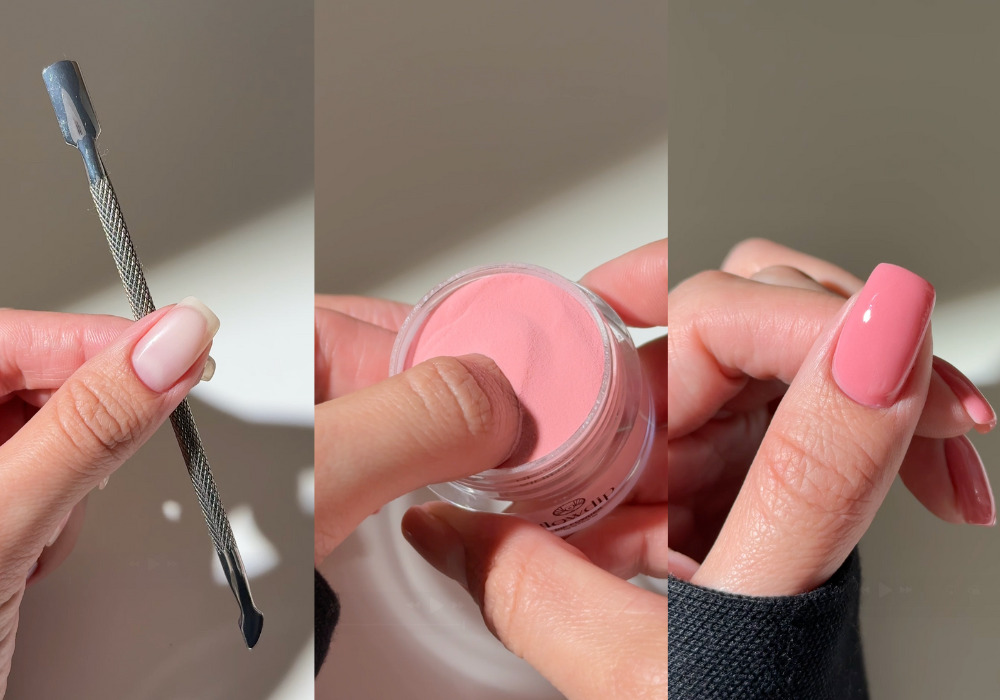
Cuticle pusher
Nail file
1
Cuticle Care
Gently push back your cuticles with a cuticle pusher. Then use the pointed end to gently remove the dead skin from your nail. This will ensure your nail is clean, helping the powder stay on better.


2
Prepare the nail surface & shape the nail
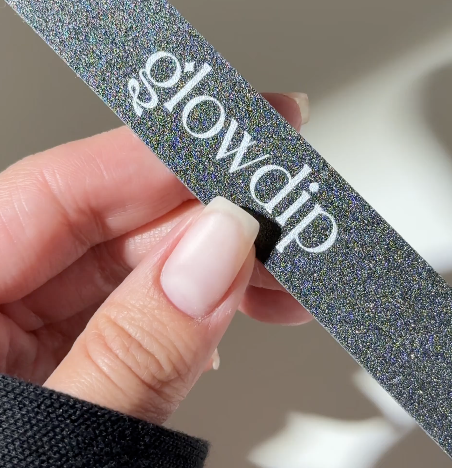
Use the fine side of your nail file (the side with the Glowdip logo) to gently buff away the shine from your nails. You’re not filing into the nail itself; you’re just roughening the surface slightly so the powder adheres better. Then file your nails into the shape you prefer—for example, round, square, or oval.
3
Prime the nails (optional)
Brush all the dust off your nails, then apply the Glowdip primer. This cleans the nail and removes oil and moisture that can cause the polish to peel. This step is optional and only applies if you have purchased the primer.
Pro Tip: You can also clean your nails thoroughly using a paper towel soaked in Glowdip remover or another 100% acetone product.
Important: Do not touch your nails after preparing them, or you will transfer oil from your skin to them again.
Step 2: Base Coat + Dip Powder
What you'll need:
Cuticle pusher

Base Coat
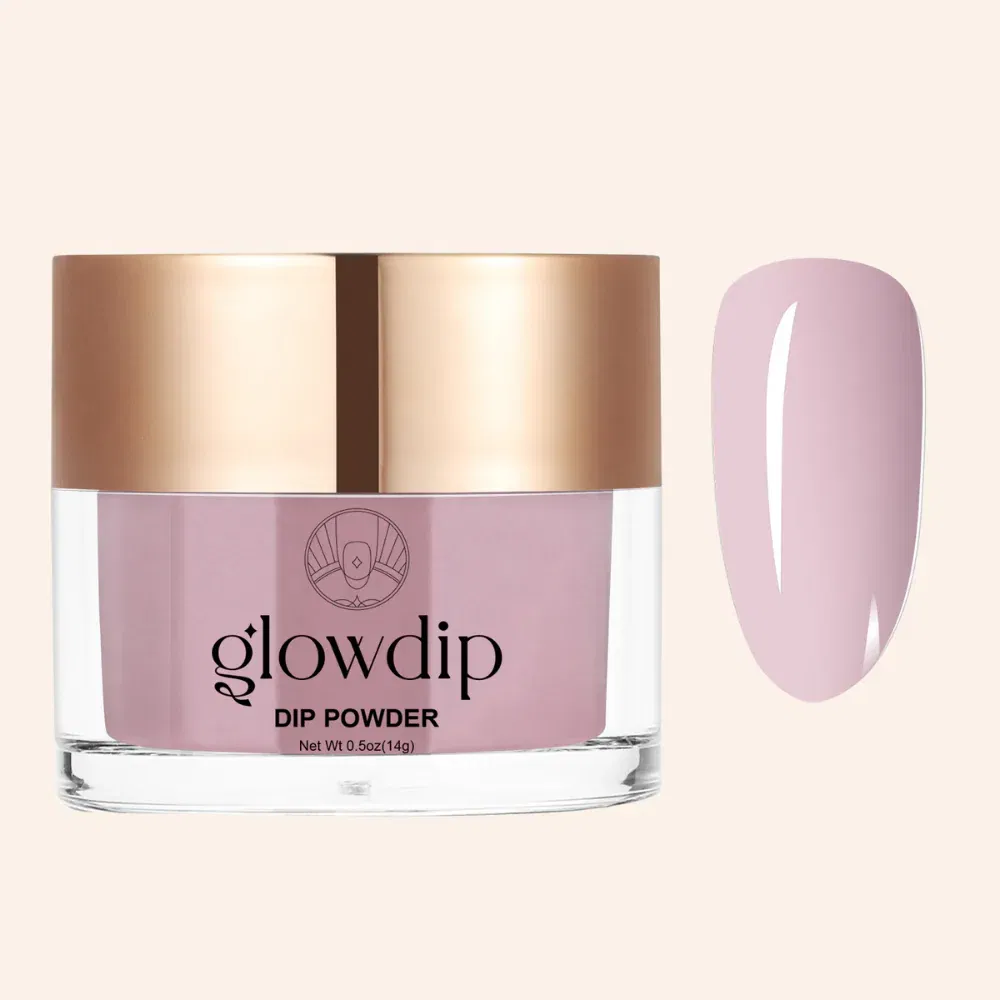
Dip Powder (color)

Brush
!
Preparing the powder
Give the dip powder a quick stir with a clean cuticle pusher and gently shake the jar to level the surface. This makes the powder fluffy and makes it easier to dip without clumps. Note: Don’t stir too vigorously, especially with full jars, to avoid spills.
!
Base Coat Technique
Apply a thin, even layer of base coat. Wipe the brush against the inside of the bottle to remove any excess liquid. Applying a thin layer helps prevent the liquid from running into the cuticles and gives you more control. Make sure no liquid gets on the neck of the bottle, or it may dry out.
Pro Tip: Every nail is different in shape and size, so the amount of base coat you need may vary from finger to finger. Start with a small amount and add a little more if necessary. This way, you’ll maintain control and avoid applying layers that are too thick.
2.1
1st Dip Layer
Apply a thin layer of base coat to about ¾ of your nail, starting a little way from the cuticle. Seal the edge of the nail by running the brush along the top of the nail. Immediately dip your nail into the powder at a 45° angle, and hold it there for 2 seconds so the powder adheres properly. Don’t brush away the excess powder yet—first repeat these steps for each nail.
Pro Tip: Do you find it messy to dip your finger directly into the jar? No worries! There are other ways to do it—try out what works best for you. Check them out below.
+
The scoop-and-spread method.
+
The finger-in-powder method.
2.2
Brush off any excess powder
After dipping all your nails, wait at least 2 minutes before brushing off the excess powder. This allows the base coat to cure properly and ensures the dip layer stays in place. Then use a soft brush to gently remove the excess powder.
2.3
2nd Dip Layer
Apply a second thin layer of base coat, this time a little closer to the cuticle. Don’t forget to cover the edge of the nail again. Dip your nail again, wait for it to dry, and then gently brush away the excess powder.
Pro Tip: Does your nail look wet after dipping? Dip it in the jar again and hold it there for 2 seconds so the powder adheres properly. This is often a sign that you’ve used too much base coat. Try applying a little less base coat to the next nail.
2.4
3rd Dip Coat (Fully Varnished)
Apply a third coat of base coat over the entire nail, and seal the cuticles again. Dip your nail, wait a moment, and repeat this for each nail.
Pro Tip: To prevent the base coat from running into your cuticles or along the sides of your nails, start by applying a stroke in the center of the nail—slightly away from the cuticle—to remove any excess base coat from the brush. Then, work slowly and carefully toward the edges. Make sure to stay 1 millimeter away from your cuticles.
2.5
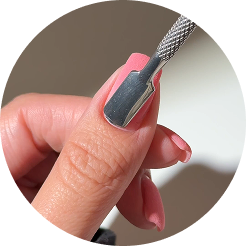
Immediately after dipping, you can clean up the cuticle line with the tip of your cuticle pusher. This prevents the base coat from building up and ensures a smooth finish before it dries. Don’t leave any powder on your skin, as this can cause your manicure to chip more quickly.
Pro Tips:
Just before applying the base coat, gently push back your cuticles with a cuticle pusher. This ensures that the base coat adheres well to the cuticle and provides full coverage.
Use your fingers to gently pull back the skin around your nail. This allows you to apply the base coat more precisely without touching the skin, ensuring better coverage.
Step 3: Activator
What you'll need:
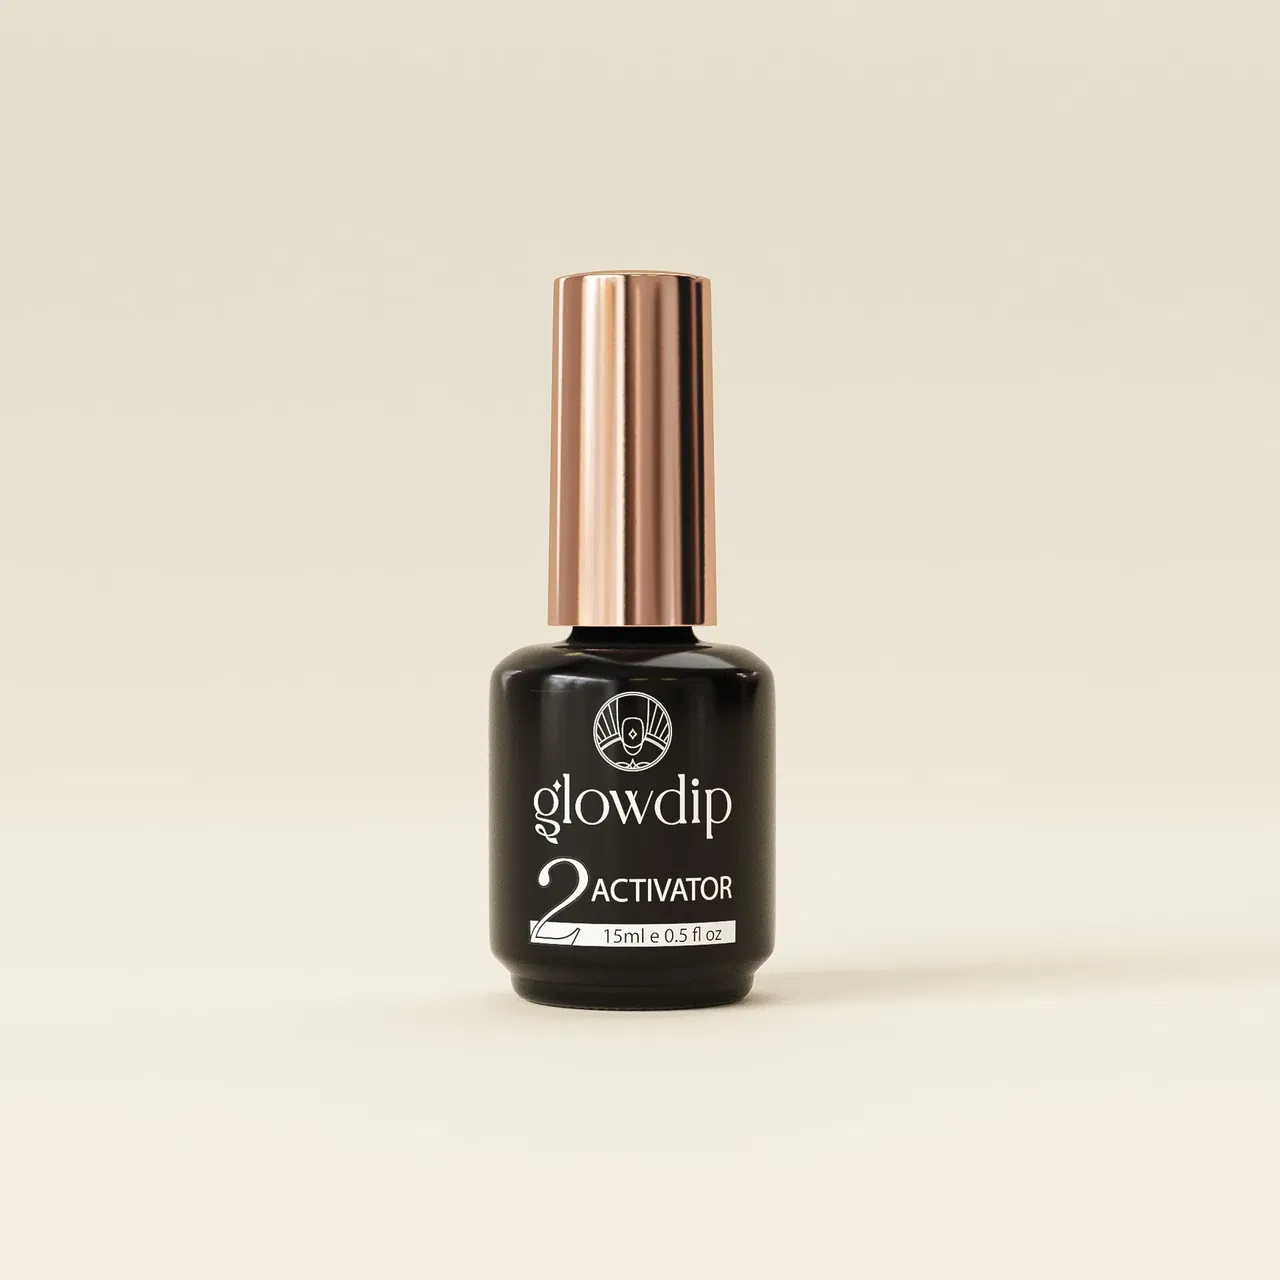
Activator
Nail file
Brush
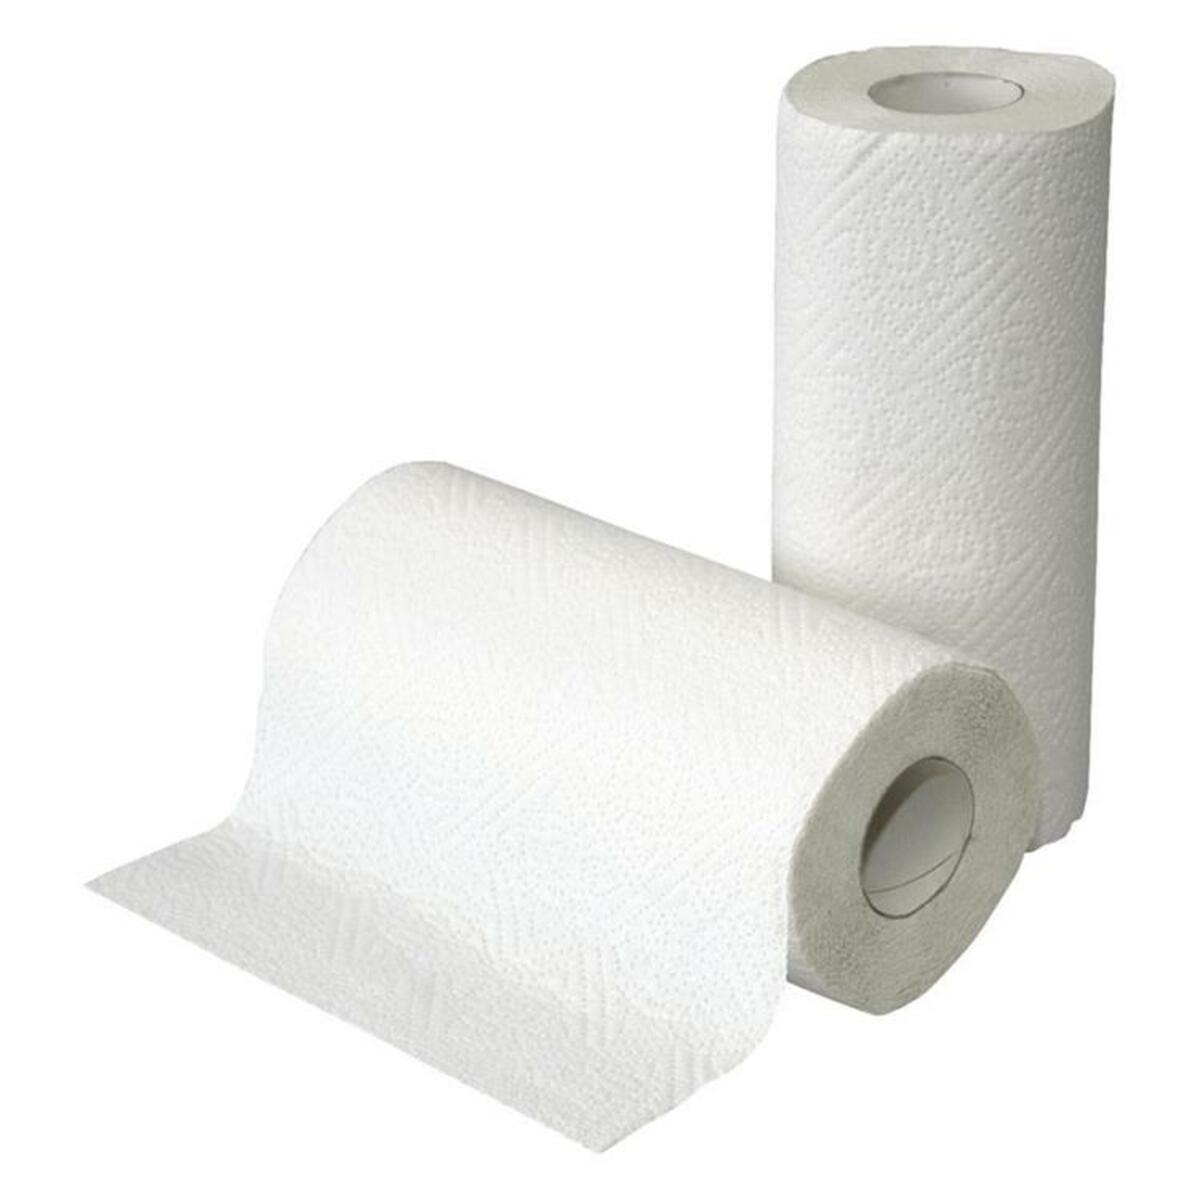
Paper towels
3.1
Apply the activator
Apply a generous amount of activator to each nail, from the cuticle to the tip, and don’t forget to cover the nail edges. This step ensures that the gel layers cure properly and the nail becomes strong.
3.2
Filing and smoothing
Wait 2 minutes to allow the activator to cure thoroughly. Then gently tap the nail with your file—if it sounds firm and hard, the nail is ready to be filed. If it still sounds soft or dull, give it a little more time. Use the fine side of your file (the side with the Glowdip logo) to smooth the surface, especially around the cuticle and sides. Neatly shape the nail and file the edges for a clean finish. Be careful not to file too much, especially on the natural nail.

3.3
Cleaning
Brush any remaining powder off your nails. This will remove any last bits of dust and prepare your nails for the final step.
3.4
Second layer of activator
Apply a second coat of activator to all your nails to ensure everything cures properly. Let it dry for 2 minutes, then wipe away any excess with a paper towel.
Step 4: Top Coat
What you'll need:

Top Coat
Paper towels
Nail file (optional)
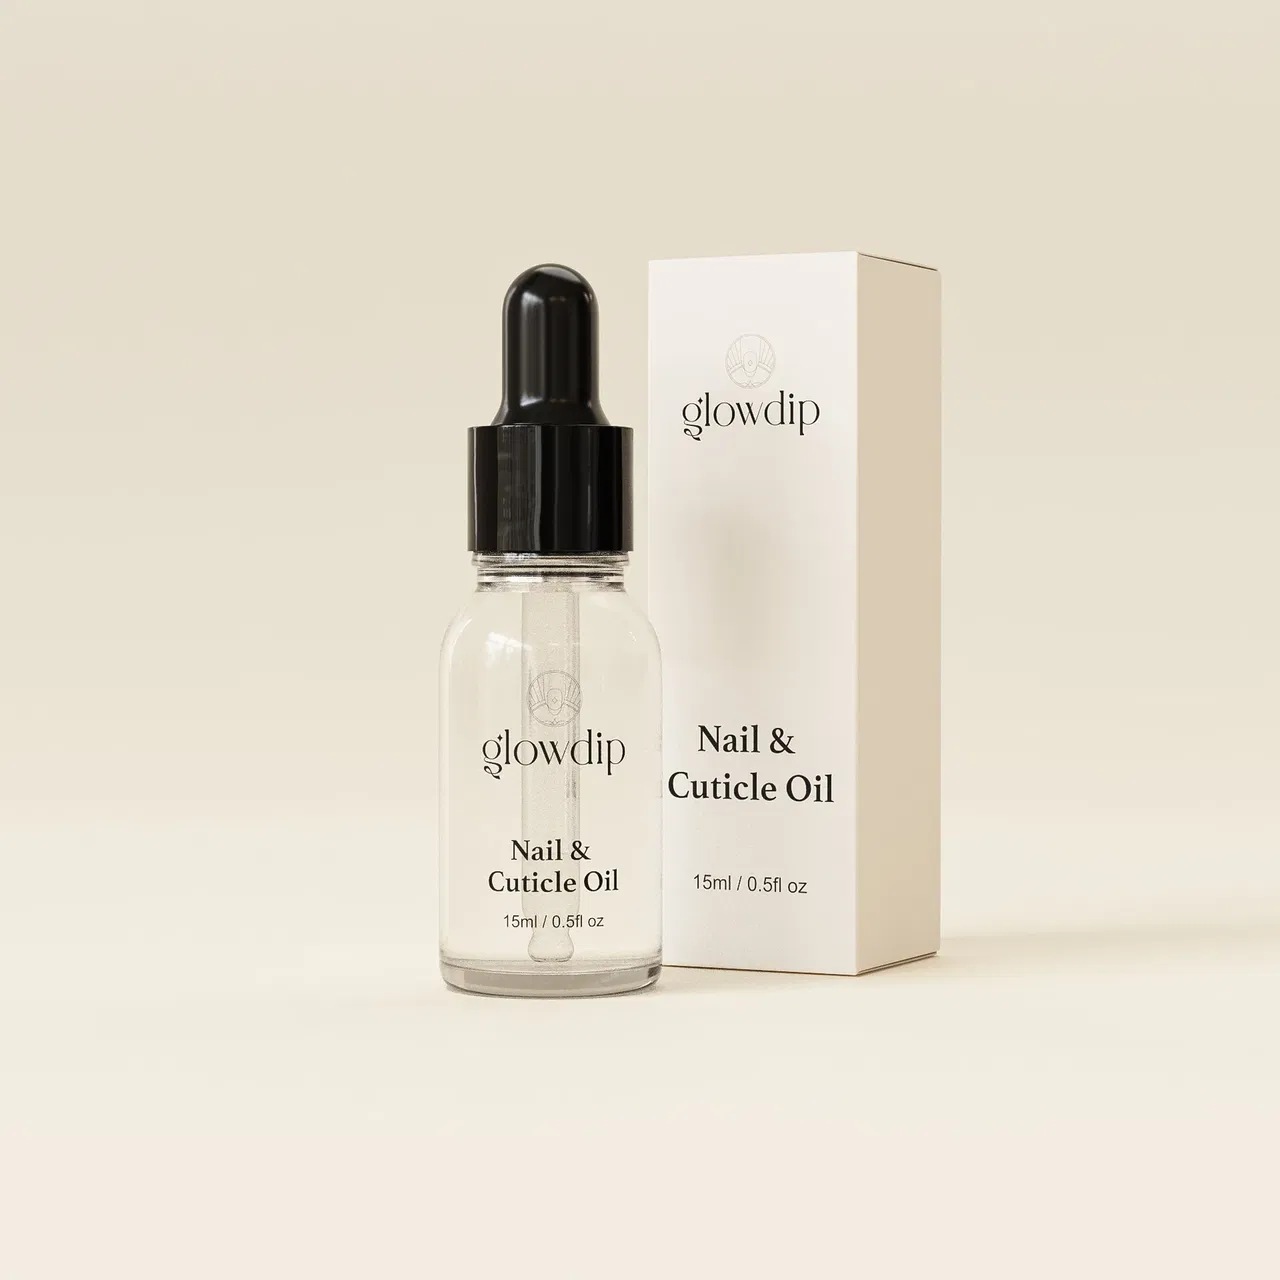
Cuticle oil (optional)
+
First coat of top coat
Wipe off any excess liquid from the back of the brush before applying it. Also wipe the handle of the brush to prevent drops from falling onto your nail or the liquid from spilling.
4.1
______
Apply a thin layer of top coat using 3–4 quick, controlled brush strokes. Don’t go over the same spot too often—the top coat dries quickly and can make your brush stiff or cause streaks if you apply too much.
After each nail, wipe the brush clean on a piece of paper towel before putting it back in the bottle. This prevents the top coat from thickening or getting contaminated.
4.2
Wait and evaluate the results
Let the top coat dry for 2 minutes. You'll notice that the shine becomes slightly more matte—that's your cue that you're ready for the final coat.
4.3
Apply the second coat of top coat
Apply a final, thin layer of top coat, taking your time to ensure even coverage across the entire nail and along the cuticles. This layer will give you a beautiful, glossy finish.
Avoid excessive brush strokes to prevent streaks. Repeat this process on each nail and let everything dry thoroughly for 2 minutes.
20
Final touches (optional)
For extra precision, you can gently file the edges of your nails using the fine side of your nail file. This will give them a neat finish and remove any excess top coat from the sides.
21
Aftercare
Finish with a nourishing cuticle oil to care for the skin around your nails. Use it daily to keep your cuticles healthy and your manicure looking great for longer.
You did it!
It’s that simple—you’ve dipped, filed, activated, and sealed your way to a perfect set of Glowdip nails. Whether it’s your first time or your fiftieth, every set brings you one step closer to mastering the technique. Keep practicing, be patient, and above all: have fun. Your nails are your creative playground, so keep shining and creating—dip by dip!
Tips, Tricks, and Warnings for Beginners
1. Apply thin, even layers
Applying thin coats prevents your nails from becoming thick and ensures a smoother finish.
2. Always seal the edge of the nail
Sealing the edge of the nail ensures that the product is properly sealed and prevents it from crumbling or coming loose.
3. Let the activator dry completely
Wait 2–3 minutes after applying the activator before filing or applying the top coat. The nail should feel hard and make a solid tapping sound when you tap it.
4. Work with one hand at a time
This helps prevent smudging and gives you more control over the pace.
5. Avoid skin contact
Keep the base coat and dip powder away from your skin to prevent them from coming off and to avoid possible allergic reactions.
6. Clean your brushes
Wipe your base and top coat brushes clean with a piece of paper towel after each use to prevent the product from hardening.
7. Don’t skip the prep work
Proper preparation is essential. Well-filed and clean nails ensure that your manicure lasts much longer.
8. Use clear dip powder for extra strength
Finish with a coat of clear dip powder if you have thin nails or want extra strength before filing.
9. Use a soft brush
A soft brush gently removes excess powder without damaging the layers.
10. Make sure your nails are dry before applying
Avoid using water or lotion before you start. Moisture prevents the powder from adhering properly and causes it to come off more quickly.
Pro Tip: It might take a little longer the first few times—don't worry! The more you practice, the faster and more confident you'll become.
What to look out for
1. Avoid excessive contact with the dip solutions
Dipping liquids such as base and activator contain strong adhesives and chemicals. Avoid prolonged skin contact and always work in a well-ventilated area.
2. Allergic reactions are possible
Do you notice redness, itching, or sensitivity around your nails or skin? If so, stop using the product immediately. Always test a new product on a single nail first to see how your skin reacts to it.
3. Never use damaged nails as a base
Do not apply dip powder to cracked, infected, or irritated nails. Wait until your natural nails are completely healthy to prevent further damage.
4. Do not force the removal of the film
Never peel the polish off your nails. Doing so can strip away layers of your natural nail and cause serious damage. Always remove it properly by soaking it in acetone.
5. Store your products properly
Make sure the dip containers are tightly sealed and stored upright in a cool, dry place. Exposure to air can cause the liquids to thicken or become contaminated.
6. Use your brushes smartly and keep them clean
Never use the same brush for multiple liquids without cleaning it first. This can make the top coat look dull or cause the brush to harden.
7. Clean your tools thoroughly after each use
Keep all your tools clean and disinfected—especially if you do nails for other people. Clean tools ensure safe and healthy nails!
8. Be careful not to inhale the powder
Dip powder is fine and light. Avoid inhaling the dust while applying or brushing it off. If necessary, wear a face mask and work in a well-ventilated area.